If you want a VPN running on your television, Surfshark is the VPN we recommend setting up first, with 80% off for our users — and this guide walks you through every supported method, because the right setup depends entirely on which Google TV device you own.
The short answer is simple. If you own a Chromecast with Google TV or a Google TV Streamer, install a VPN app from Google Play, sign in, and connect. If your provider has no app in the Play Store, sideload its Android TV APK instead. If your device cannot install apps at all, set the VPN up on your router or share a VPN connection from a computer.
This is a setup guide, not a test report. No original measurements are published in this article, and no speed numbers, ping values or test results are invented. The procedures below come from current published guides and provider documentation, and any claim that could not be verified from a Google TV device in Pakistan is flagged where it appears.
That distinction matters, because Google TV setup advice goes stale quickly. Google no longer sells the Chromecast dongles, the Google TV Streamer replaced them in 2024, and providers change their TV apps and sign-in methods without notice. This guide is written against the current device line-up and the current published setup paths.
Before you start, identify your device. The method that works on a Chromecast with Google TV will not work on an older casting-only Chromecast, and the router method that covers every device is overkill if a simple app install would do. The next section tells you how to tell which device you have.
The Short Answer: How to Set Up a VPN on Google TV
For most readers, the setup takes a few minutes. Open Google Play on your Google TV, search for your VPN provider by name, install the official app, open it, sign in with your account, and connect to a server. Then open your streaming app and check that it works. That is the whole procedure, and it is the method to try first.
You need three things before you start: a Google TV device with Google Play access, a VPN subscription from a provider that offers an Android TV app, and enough free storage for the app. Chromecast with Google TV models have only 8 GB of storage, so you may need to delete an unused app before the VPN will install.
If the app is not in the Play Store, the next option is sideloading: download the provider’s Android TV APK on a computer, transfer it to the TV, and install it with a file manager app. This works on the same Google TV devices, but it needs a few more steps and a setting change to allow unknown sources.
If your device cannot install apps at all, the router method covers it. Set the VPN up on a compatible router and every device on your home network, including the TV, uses the VPN automatically. A shared VPN hotspot from a Windows computer or a Mac works the same way for a single evening, without changing your router.
Whichever method you choose, verify the connection after you connect. Open an IP checker on the TV and confirm the exit IP and country match the server you selected. If the IP still shows Pakistan, the VPN is not routing the TV’s traffic, and the verification section near the end of this guide shows you what to check.
| Method | Devices It Works On | Difficulty | What You Need |
|---|---|---|---|
| Install VPN app from Google Play | Chromecast with Google TV, Google TV Streamer | Easy | A VPN with an Android TV app |
| Sideload the VPN APK | Chromecast with Google TV, Google TV Streamer | Moderate | The provider’s APK and a file manager |
| VPN on your router | Any model, including older Chromecast | Moderate | A router that supports VPN clients |
| Share a VPN hotspot from a PC | Any model | Moderate | A Windows or Mac computer with the VPN |
Which Google TV Devices Support a VPN App?
Google TV is the software that runs on Google’s streaming devices and on many smart TVs from Sony, TCL, Hisense and Philips. It is built on Android TV, so it runs the full Google Play app store, and any VPN with an Android TV app can be installed directly, just like on a phone.
The current device is the Google TV Streamer, a set-top box launched in 2024 that replaced the Chromecast dongles. It supports 4K HDR, has 32 GB of storage and an Ethernet port, and it installs VPN apps from Google Play without any workaround. If you bought a Google streaming device recently, this is almost certainly the one you own.
The Chromecast with Google TV, in 4K and HD versions, is the earlier dongle. Both models run Google TV, both support VPN apps from Google Play, and both have only 8 GB of storage, so you may need to free space before a VPN app will install. The 4K model supports 4K HDR; the HD model is limited to 1080p HDR.
The older Chromecast, third generation, is different. It has no remote, no on-screen menu and no app store, so it cannot install a VPN app at all. If you own that model, skip the app methods in this guide and go straight to the router or hotspot method, because no app install will ever work on it.
Smart TVs that run Google TV or Android TV work like the Streamer: open Google Play, search for the VPN, and install it. TVs that run other systems, such as Samsung’s Tizen, LG’s webOS or Roku OS, cannot install VPN apps, and they also need the router or hotspot method. Check your TV’s system under Settings, then System or About, if you are unsure.
| Device | Released | Max Picture | Supports VPN Apps? |
|---|---|---|---|
| Google TV Streamer | 2024 | 4K HDR | Yes, from Google Play |
| Chromecast with Google TV (4K) | 2020 | 4K HDR | Yes, from Google Play |
| Chromecast with Google TV (HD) | 2022 | 1080p HDR | Yes, from Google Play |
| Chromecast (3rd Gen) | 2018 | 1080p | No, use router or hotspot |
| Smart TV running Google TV | Varies | Varies | Yes, if Google Play is available |
What You Need Before You Start
Start with a VPN subscription from a provider that offers an Android TV app. NordVPN, ExpressVPN, Surfshark, CyberGhost and Private Internet Access all have current Google TV or Android TV setup paths, according to recent published guides. Check your provider’s app page in Google Play before you subscribe, because a provider without a TV app forces you into sideloading or the router method.
Next, check your storage. Open Settings on the TV, go to System, then Storage, and see how much space is free. Chromecast with Google TV models have only 8 GB in total, and the system and preinstalled apps take much of that, so a VPN app may refuse to install until you delete an unused app or clear a cache.
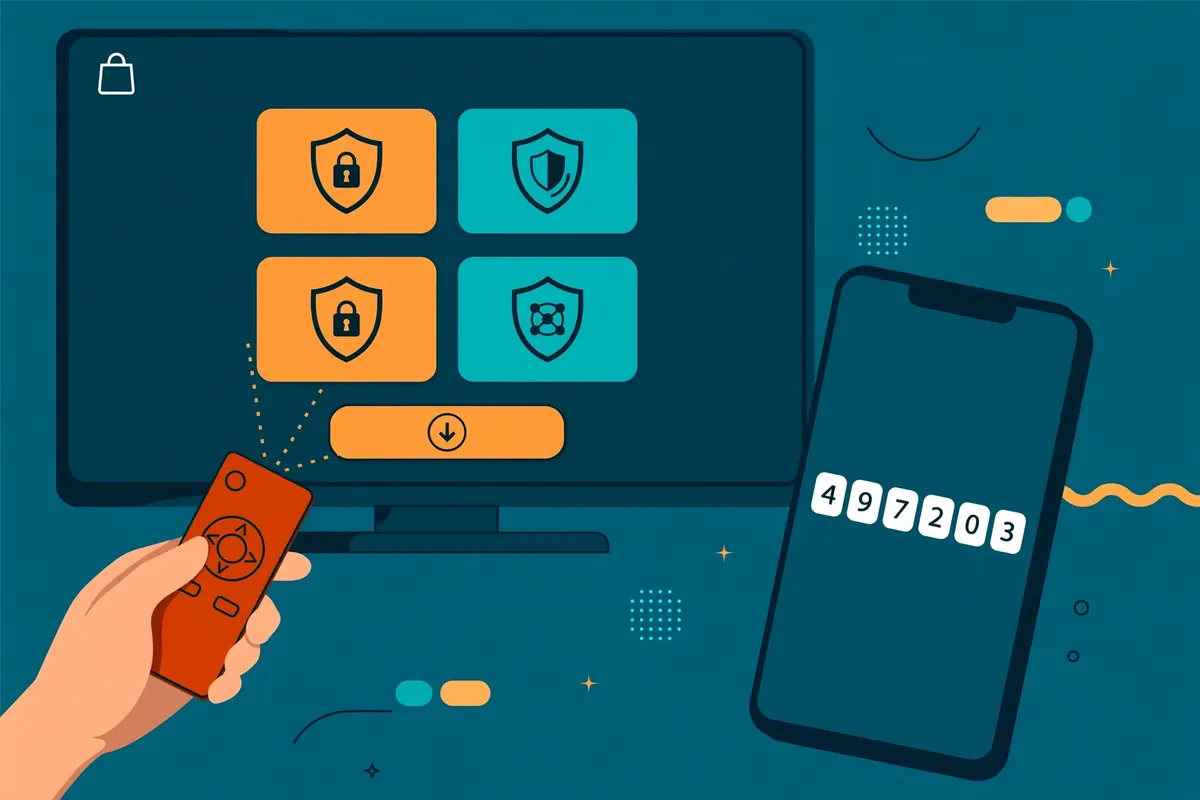
You will also need your VPN account details, or a second device for sign-in. Many TV VPN apps do not ask you to type a password with the remote. Instead they show a code on the TV and ask you to confirm it on your phone or computer, or they ask you to scan a QR code. Keep your phone nearby during setup.
Make sure the TV is on the same network you want to protect, and that the network works without the VPN first. If the TV cannot reach the internet at all, or the Wi-Fi is unstable, fix that before you add a VPN, because a VPN will not fix a broken connection and will only make the fault harder to diagnose.
Finally, decide which server country you want before you connect. For routine privacy, a nearby server gives the best speed. If you have a specific location need, select that country deliberately. Do not leave the app on its automatic choice and then wonder why the catalogue looks the same as before.
Flagged: app availability in the Pakistan Play Store was not verified from a Google TV device in Pakistan at the time of writing. A VPN app listed in published guides may not appear in every country’s Play Store, so check that the app is actually listed on your TV before you subscribe.
- Subscribe to a VPN provider with an Android TV app and confirm it in Google Play.
- Check free storage under Settings, System, Storage, and delete an unused app if needed.
- Keep your phone or computer nearby for code-based sign-in.
- Confirm the TV reaches the internet normally before you add the VPN.
- Decide which server country you want before you connect.
Method 1: Install a VPN App From Google Play
This is the easiest method by far, and it is the one to try first on any Google TV device. It needs no computer, no file transfer and no settings change. Most setups take only a couple of minutes from opening Google Play to the first connected stream.
Start on the Google TV home screen and open Google Play. Use the search function and type your VPN provider’s name, for example Surfshark, NordVPN or ExpressVPN. Select the official app from the results, taking care to choose the provider’s own app and not a similarly named copy, and press Install.
Once the installation finishes, press Open, or find the app on your home screen and launch it. The app will ask you to sign in. Some providers ask for your email and password directly, while others show a code on the TV and ask you to confirm it on your phone or computer. Follow the method the app offers and keep your phone nearby.
After sign-in, the app will ask permission to set up a VPN connection. A system pop-up titled Connection request will appear, asking whether you allow the app to monitor network traffic. Press OK. This is a standard Android permission, and every VPN app needs it, because without it the app cannot route your traffic through the tunnel.
Now choose a server and connect. For routine use, pick a nearby server for the best speed. If you have a specific location need, select that country instead. Press the connect button and wait for the app to report that it is connected. Then open your streaming app and check that it works before you settle in.
If the app does not appear in Google Play at all, do not keep searching for it. Either your provider has no TV app, which means you need the sideloading method in the next section, or the app is not listed in your country’s Play Store, which is a limitation to check with the provider’s support team.
Method 2: Sideload the VPN APK on Google TV
Sideloading means installing an app from a file instead of from the Play Store. It is the fallback when your provider has an Android TV app but that app is not listed in your country’s Play Store, or when you need a version the store does not offer. It works on the same Google TV devices as Method 1, but it needs a computer and a few more steps.
Start on your computer. Go to your VPN provider’s setup page, sign in to your account, and look for the Android TV or Google TV download. Providers that support sideloading offer an APK file for download, sometimes after sending a verification code to your email. Download the APK and keep it somewhere you can find it.
Next, install a file manager app on your Google TV from Google Play, if you do not already have one. Then transfer the APK file to the TV. The usual way is a USB drive, if your device has a port, or a file-sharing app that can send files from your computer to the TV over your home network.
On the TV, open the file manager, find the APK file, and select it to install. The TV will ask you to allow installation from unknown sources for that app. This is a normal Android safeguard, and you should allow it only for the file manager you are using, then turn it off again afterwards if the setting offers that choice.
Open the VPN app once it installs and sign in exactly as in Method 1. The app should behave the same way as the Play Store version, including the connection request permission. If the sideloaded app refuses to run, check that you downloaded the Android TV version and not the phone version, because the phone APK is not built for a TV interface.
Flagged: sideloading steps vary between providers, and some providers no longer publish a downloadable APK for Android TV. The procedure above reflects the published sideloading path, but the exact download location and verification step depend on your provider’s current setup page, so confirm it there before you start.
- Download the provider’s Android TV APK from its setup page on your computer.
- Install a file manager app on your Google TV from Google Play.
- Transfer the APK to the TV by USB drive or a file-sharing app.
- Open the APK in the file manager and allow unknown sources for that app only.
- Install the app, open it, sign in, and approve the connection request.
- Connect to a server and verify the connection as described later in this guide.
Method 3: Set Up a VPN on Your Router
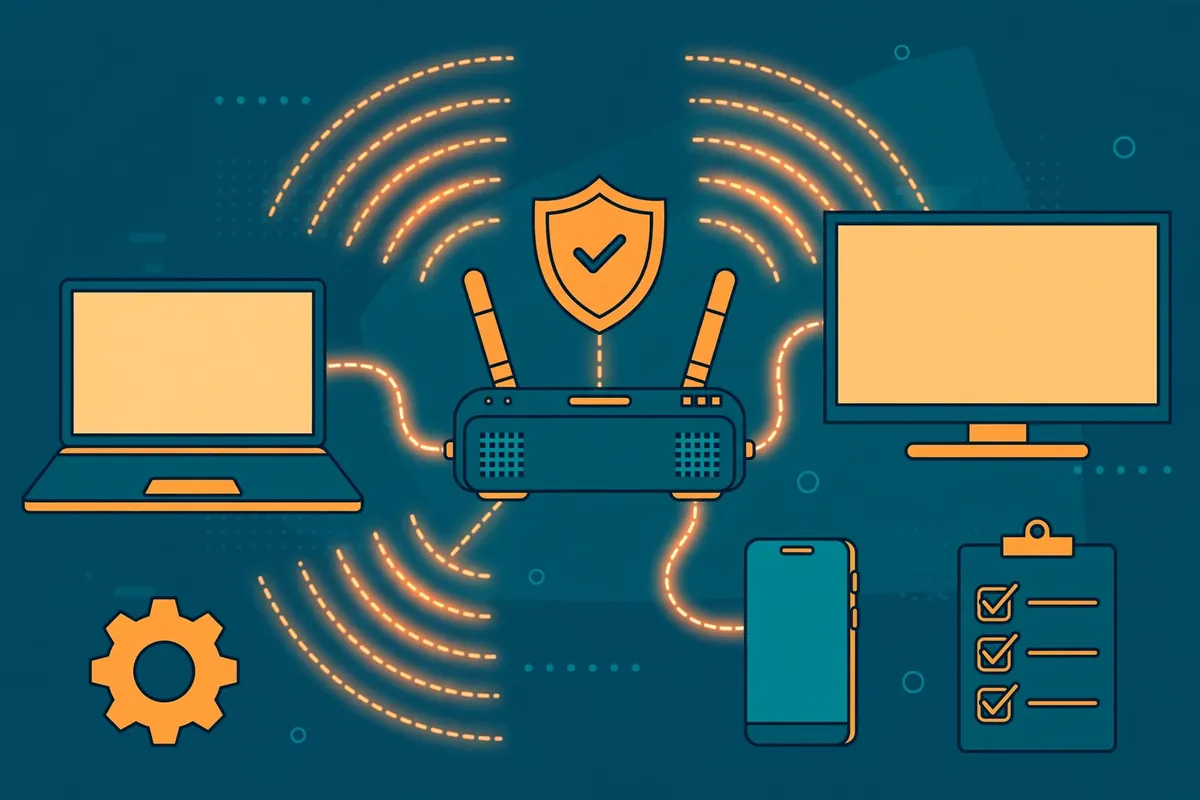
The router method protects every device on your home network at once, including the TV, a casting-only Chromecast, and any smart TV that cannot install apps. It is the best long-term setup for a household with several devices, and it is the only method that works for every Google TV model without exception.
Not every router supports a VPN client, so check yours first. The router’s manual or its settings page will say whether it supports OpenVPN or WireGuard client mode. Many ISP-supplied routers in Pakistan do not, and in that case you need a compatible router, or a second router behind the first one, to run the VPN.
The setup itself varies by router and provider, but the shape is the same. Download your provider’s OpenVPN or WireGuard configuration files from its setup page, log in to your router’s admin page, find the VPN client section, and upload or paste the configuration. Enter your VPN username and password, or the credentials the provider gives you for manual setup.
Choose the server in the configuration file, save the settings, and restart the router if it asks. Then check that the router reports a VPN connection, and confirm on the TV that your IP address has changed. Every device on the network now uses the VPN, including phones and laptops, so there is no app to open and no per-device sign-in.
The router method has real trade-offs. It protects everything, but it also slows everything if the router’s processor is weak, and switching server countries means logging in to the router again. Some households run two networks instead: one with the VPN for the TV, and one without it for everything else.
If your router cannot run a VPN client, a compatible router is a purchase worth researching before you buy. Check that it supports the protocol your provider uses, that its processor can handle your internet speed, and that your provider publishes configuration files for it. Do not buy a router on the assumption that it supports VPN clients.
Method 4: Share a VPN Connection From a Computer Hotspot
If you need the TV on a VPN for one evening and do not want to change your router, share a VPN connection from a computer. Connect the VPN on a Windows computer or a Mac, then share that connection as a Wi-Fi hotspot, and connect the TV to the hotspot. The TV’s traffic then travels through the computer’s VPN tunnel.
On Windows, connect the VPN first, then open the mobile hotspot settings and turn the hotspot on, choosing the VPN connection as the source. On a Mac, the same result comes from Internet Sharing in System Settings, sharing the VPN connection over Wi-Fi. The exact menu names vary by operating system version, so check your system’s current settings if the names differ.
This method is a workaround, not a permanent setup. The computer must stay on and stay connected for as long as the TV uses the VPN, and the hotspot adds a wireless hop that can slow the connection. It is useful for testing whether a VPN fixes a problem, or for a single evening’s viewing, but it is not a replacement for an app or a router.
A casting workaround also exists for the older Chromecast. Cast a Chrome tab from a computer that is already connected to the VPN, and the cast content travels through the VPN. This is the quickest fix for a casting-only Chromecast, but it only covers what you cast, not the Chromecast’s own apps, and it stops working the moment the computer disconnects.
Whichever sharing method you use, verify the connection on the TV afterwards, using the same IP check described later in this guide. A hotspot that is not actually sharing the VPN connection will leave the TV on your normal connection, and the only way to know is to check the IP address the TV reports.
Flagged: hotspot sharing steps depend on the operating system version on your computer, and menu names and options change between Windows and macOS releases. The procedure above describes the general method, so confirm the current menu names on your own system before you start.
Signing In on a TV: Activation Codes and QR Codes
Typing a password with a TV remote is slow and error-prone, so most VPN apps avoid it. Instead they show a short code on the TV and ask you to enter that code on the provider’s website from your phone or computer, or they show a QR code to scan. Both methods link the TV app to your account without typing anything on the TV.
When the app shows a code, open the provider’s activation page on your phone, sign in if asked, and enter the code exactly as shown. The TV should confirm the sign-in within seconds. If the code expires before you enter it, the app will generate a new one, so there is no need to hurry, but do not leave the screen for several minutes.
Some apps ask for your email and password directly on the TV, using an on-screen keyboard. This is slower, but it works, and it is the only option when the provider does not offer code-based sign-in. Take care with capital letters and symbols, because a single wrong character will fail the sign-in without explaining why.
If sign-in fails repeatedly, check the obvious causes first. Make sure the subscription is active, that you have not reached the provider’s device limit, and that the password works on the provider’s website from your phone. A password that fails everywhere is an account problem, not a TV problem, and resetting it on the website is the fix.
Never sign in to a VPN app that is not the provider’s official app. Copycat apps with similar names exist in app stores, and they can steal your credentials. If you are unsure, install the app from a link on the provider’s own website, or check the developer name in the Play Store listing against the provider’s name.
Permissions: The Connection Request Explained
Every VPN app on Google TV will show a system pop-up titled Connection request, asking whether you allow the app to set up a VPN connection. The wording warns that the app can monitor network traffic, which sounds alarming, but it is the standard Android permission that every VPN needs, because routing your traffic through a tunnel is, by definition, handling your traffic.
Press OK to allow it. Without this permission the app cannot create the VPN tunnel, and it will show an error or keep asking each time you connect. The permission applies only to that app, and you can revoke it later from Settings, under Apps, by clearing the VPN app’s permissions.
A legitimate VPN app asks for this permission once, at first connection, and never again unless you reinstall it. If an app asks for unrelated permissions, such as access to your contacts or your location, treat that as a warning sign. A VPN app has no reason to need your contacts, and a request for them suggests the app is not what it claims to be.
On some devices the permission screen also offers a checkbox to remember the choice, or the system asks whether the app should always be allowed to start a VPN connection. Accepting that option avoids the pop-up on later connections, but it also means the app can reconnect without asking. That is a fair trade for a VPN you trust, and not one to accept for an app you do not.
If you accidentally press Cancel on the connection request, the app will fail to connect. Simply try connecting again and press OK when the pop-up returns. There is no setting to fix and nothing to reinstall; the permission is asked again on the next connection attempt.
Choosing a Server and Connecting on Google TV
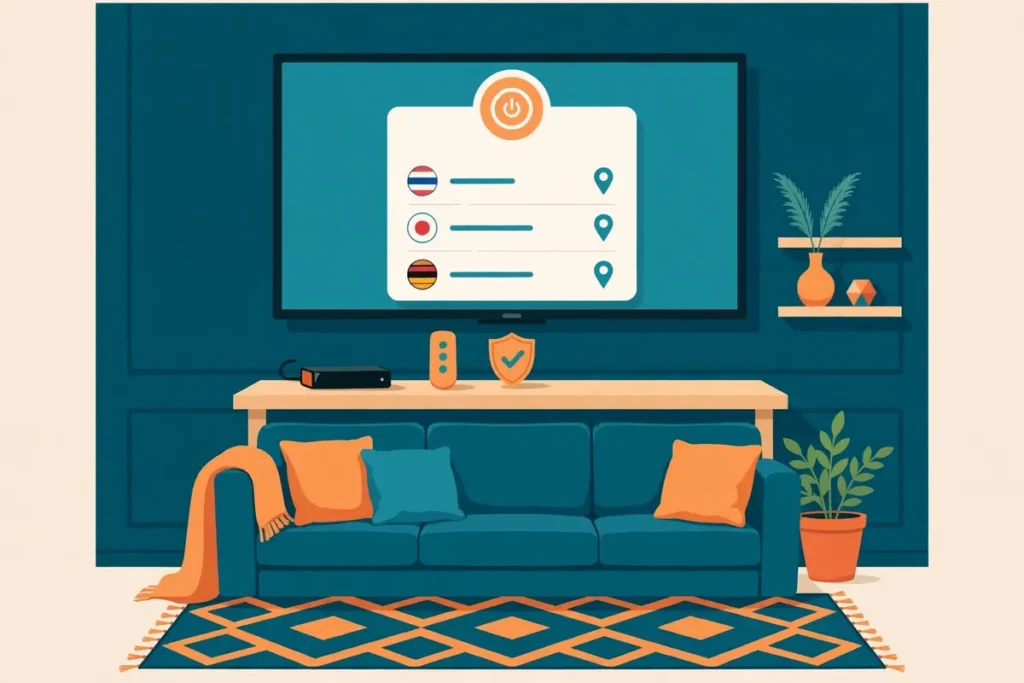
Once the app is installed and signed in, choosing a server is straightforward. Open the app, look at the server list, and pick a country. For routine privacy and the best speed, choose a nearby server, because a closer server usually means lower latency and faster streaming. Singapore, the United Kingdom and the United States are common choices for readers in Pakistan, depending on what they want to watch.
If you have a specific location need, select that country deliberately instead of accepting the app’s automatic choice. Many apps offer a Quick Connect or Smart Location button that picks the fastest server for you, which is useful for privacy but unhelpful when you need a particular country’s catalogue.
Press the connect button and wait for the app to report that it is connected. A first connection can take a few seconds while the tunnel is negotiated. Do not open your streaming app until the VPN reports that it is connected, because an app opened earlier may have already loaded content for your real location.
If a streaming service rejects the connection, try another server in the same country before you give up. One server can be blocked while another in the same country works, and providers with many servers give you that choice. If every server in that country fails, the service may be blocking the provider entirely, and no amount of retrying the same server will fix it.
For the wider choice of providers and their TV support, see our guide to the best paid Google TV VPNs for Pakistan and our guide to the free Google TV VPN options. Both guides cover the same providers whose apps this article teaches you to install.
Verify the Connection on Google TV
Verification takes a minute and is worth doing every time you connect. The VPN app saying it is connected is not proof that the TV’s traffic is actually going through the tunnel, and a quick IP check settles the question. Do it before you open any streaming app, because a streaming app opened earlier may cache content for your real location.
The simplest check is an IP checker. Open the TV’s browser, if it has one, and visit an IP lookup site, or install a small IP checker app from Google Play. The site will show your exit IP address and the country it is registered in. Compare both with the server you selected: the country should match, and the IP should be different from your normal home IP.
If the browser is not available on your TV, check from another device on the same network, but be careful: a phone or laptop on the same Wi-Fi will show its own connection, not the TV’s. The reliable check is one run on the TV itself, so use an IP checker app on the TV if the browser is missing.
Then open your streaming app and check the catalogue. If you connected to a server in another country, the available titles should change to match that country. If the catalogue looks exactly the same as before, fully close the streaming app and reopen it, because an app that was already open may be showing cached content from before the VPN connected.
If the IP check still shows Pakistan after the app reports a connection, disconnect and reconnect, then check again. If it still shows Pakistan, the VPN is not routing the TV’s traffic, and the troubleshooting section below covers the most likely causes. Do not assume the VPN is working just because the app says it is.
- Connect the VPN and wait for the app to report that it is connected.
- Open an IP checker on the TV and note the exit IP and country.
- Confirm the country matches the server you selected.
- Open your streaming app and check that the catalogue matches that country.
- If the app was already open, fully close it and reopen it before judging.
- If the IP still shows Pakistan, disconnect, reconnect, and check again.
Surfshark: The VPN We Recommend for Google TV
Surfshark is the VPN we recommend for most readers in Pakistan, and it is a natural fit for a television. It offers an Android TV app in Google Play, so the install in Method 1 works directly, and one subscription covers unlimited devices, which means the same account protects your TV, your phone, your laptop and your tablet without buying more accounts.
Surfshark’s app lets you switch protocols in settings, and its Camouflage Mode on OpenVPN connections can help on networks in Pakistan that filter VPN traffic. That matters on a TV, because a connection that drops mid-film is far more annoying than one that drops while browsing, and a stable tunnel is worth more than a fast one that keeps failing.
When you set Surfshark up on Google TV, follow Method 1 first and check the Play Store listing on your own TV. If the app is listed, install it, sign in with the code method, approve the connection request, and connect to a nearby server. Then run the IP verification in the previous section before you open any streaming app.
Whichever provider you choose, use the money-back guarantee as your testing window. A 30-day guarantee gives you a month to try the TV app across your viewing habits, and to switch providers if the app is awkward, the connection drops, or the catalogue you want stays blocked. Do not judge a TV app on a single evening’s viewing.
Surfshark — our recommended VPN for Pakistan
One subscription covers every device in your home, and the same account works on your TV, phone, laptop and tablet.
Troubleshooting Google TV VPN Problems
The most common problem is the app not appearing in Google Play. Either the provider has no TV app, or the app is not listed in your country’s store. Check the provider’s website for a TV setup page, try the sideloading method, or switch to a provider with a listed TV app. Do not install a copycat app with a similar name.
The second common problem is the install failing for lack of storage. Chromecast with Google TV models have only 8 GB, and the system takes much of that. Delete an unused app, clear the cache of a streaming app you rarely use, and try the install again. If storage is still short, the router method avoids installing anything on the TV at all.
The third common problem is sign-in failing. Check that the subscription is active, that you have not reached the device limit, and that the password works on the provider’s website from your phone. If the app shows a code, make sure you enter it before it expires, and generate a new one if it does.
The fourth common problem is the VPN connecting but the IP check still showing Pakistan. This usually means the app connected but the tunnel did not start, or the streaming app cached your real location. Disconnect, fully close the streaming app, reconnect the VPN, verify the IP, and only then reopen the streaming app.
The fifth common problem is a stream that buffers or fails after connecting. Try a nearer server, switch the protocol in the app’s settings if it offers a choice, and check whether the same stream works without the VPN. If it works without the VPN and fails with it, the server is the likely cause, so try another server in the same country.
The sixth common problem is the VPN disconnecting when the TV sleeps. Some TVs kill background apps to save power, and a VPN app is a background app once you leave it. Open the app again and reconnect, and check the TV’s power settings for an option to keep the app running. If the TV offers no such option, the router method avoids the problem entirely.
| Problem | Likely Cause | Fix to Try First |
|---|---|---|
| App not in Google Play | No TV app, or not listed in Pakistan | Check provider site, sideload, or switch provider |
| Install fails | Only 8 GB storage on Chromecast models | Delete an unused app or clear a cache |
| Sign-in fails | Expired code, device limit, wrong password | Generate a new code, check the account on the web |
| IP still shows Pakistan | Tunnel did not start, or cached location | Disconnect, close streaming app, reconnect, re-verify |
| Stream buffers after connecting | Distant or busy server | Try a nearer server or another in the same country |
| VPN drops when TV sleeps | TV kills background apps | Reconnect, check power settings, or use the router method |
Removing a VPN Profile and Uninstalling the App
If you want to stop using a VPN on your Google TV, disconnect first, then remove the app. Open the app, press disconnect, and wait for it to report that the VPN is off. Then go to Settings, Apps, find the VPN app, and choose Uninstall. Uninstalling removes the app and its VPN profile together, so there is nothing else to clean up.
If you only want to stop the VPN from connecting automatically, look in the app’s own settings first. Many TV VPN apps offer a connect-on-start option, a kill switch, or an auto-connect setting, and turning those off stops the automatic behaviour without uninstalling the app. The setting names vary by provider, so check the app’s settings screen.
Android also keeps a list of installed VPN apps under Settings, then Network and Internet, then VPN. If an uninstalled app still appears there, or a profile remains after uninstalling, select it and choose Forget or Delete. A leftover profile cannot route traffic on its own, but removing it keeps the settings screen clean and avoids confusion later.
If you used the router method, removing the VPN means logging in to the router and turning the VPN client off, or deleting the configuration. Do this when you want the whole household off the VPN, not when you only want the TV off it, because the router method covers every device on the network.
After removing a VPN, check that the TV’s IP address returns to your normal home IP. Open an IP checker on the TV and confirm it shows Pakistan and your usual provider. If it still shows another country, a VPN app is still running, and the Settings screen will show you which one.
Limitations and What a VPN Cannot Do on Google TV
A VPN on Google TV has limits, and they should be stated plainly. A VPN changes your exit IP address, and that is all it changes. It does not change your Google account region, your payment method country, or the region of an app store account, and a streaming service that checks those will still see your real region.
A VPN also cannot guarantee access to any streaming catalogue. Services detect and block VPN servers, providers add new servers and services block those too, and the result changes from week to week. A server that works today may be blocked tomorrow, and no provider can promise otherwise. Try another server in the same country before you conclude the service is unreachable.
A VPN will usually slow the connection. Encryption takes processing time, and the extra hop through the VPN server adds distance. On a fast fibre connection the slowdown may be unnoticeable, but on a slower plan or a weak router it can cause buffering. Choose a nearby server for the best speed, and test at the time of day you normally watch.
Google’s own VPN by Google One is not an option any more. It was discontinued in 2024, so older guides that list it as a choice are out of date. If a guide you are reading still recommends it, treat the rest of that guide with the same caution, because its information is at least two years old.
This guide publishes no measured test results of its own. The procedures are from published guides and provider documentation, and no speed numbers or test results were measured for this post. App availability in the Pakistan Play Store was not verified from a Google TV device in Pakistan, so check the listing on your own TV before you subscribe.
Flagged: whether a particular streaming catalogue is reachable through a given VPN server changes frequently as services update their detection, and no check in this guide can confirm access in advance. Treat any claim that a specific server unblocks a specific service as a snapshot that may already be out of date.
Surfshark — our recommended VPN for Pakistan
Set your chosen VPN up inside its 30-day money-back guarantee window first, so a TV app that does not suit you costs you nothing to discover.
Conclusion: Setting Up a VPN on Google TV From Pakistan
Setting up a VPN on Google TV is straightforward once you know which device you own. On a Chromecast with Google TV or a Google TV Streamer, install the VPN app from Google Play, sign in, approve the connection request, and connect. On an older casting-only Chromecast, or a TV that cannot install apps, use the router or hotspot method instead.
Verify the connection every time. Open an IP checker on the TV, confirm the country matches the server you selected, and only then open your streaming app. A VPN app that says it is connected is not proof that the TV’s traffic is routed, and a one-minute check saves an evening of wondering why the catalogue looks unchanged.
Remember what this article does and does not contain. It contains setup procedures from published sources, not measurements, and it publishes no speed numbers or test results of its own. Use it to get the VPN running, then judge the result by your own viewing: whether the connection stays stable, whether the speed supports your streams, and whether the catalogue you want is reachable.
Start with Surfshark on your Google TV, run the setup in Method 1, and verify the connection with the IP check. If the app suits you, keep it; if it does not, the same method works for the other providers in our comparison guides, and the money-back guarantee gives you time to switch.
For the wider choice of providers, our best paid Google TV VPNs for Pakistan guide and our free Google TV VPN options guide are the next places to look, and the freevpn.pk homepage lists our other Pakistan VPN guides.
Frequently Asked Questions
Which VPN Setup Methods Does Google TV Support?
Google TV supports installing a VPN app directly from Google Play, sideloading a VPN APK, and connecting through a VPN router or a shared VPN hotspot. Direct installation is the easiest method and works on Chromecast with Google TV and the Google TV Streamer. Older casting-only Chromecast models cannot install apps, so they need the router or hotspot method.
This article publishes no measured test results: the setup steps are from published guides and provider documentation.
Which App or OS Version Requirements Matter?
You need a Google TV device with Google Play access, enough free storage for the VPN app, and a VPN provider that offers an Android TV app. Chromecast with Google TV models have only 8 GB of storage, so you may need to delete an unused app first. Some providers also require a minimum Android version, so check the provider’s app page in Google Play before you subscribe.
App availability in the Pakistan Play Store was not verified from a Google TV device in Pakistan at the time of writing.
How Do I Verify the Connection on Google TV?
After the VPN app reports that it is connected, open the TV browser or an IP checker app and confirm the exit IP and country match the server you selected. Then open your streaming app and check that the catalogue or content matches that country. If the IP still shows Pakistan, the VPN is not routing the TV’s traffic, and you should disconnect, reconnect, and check again.