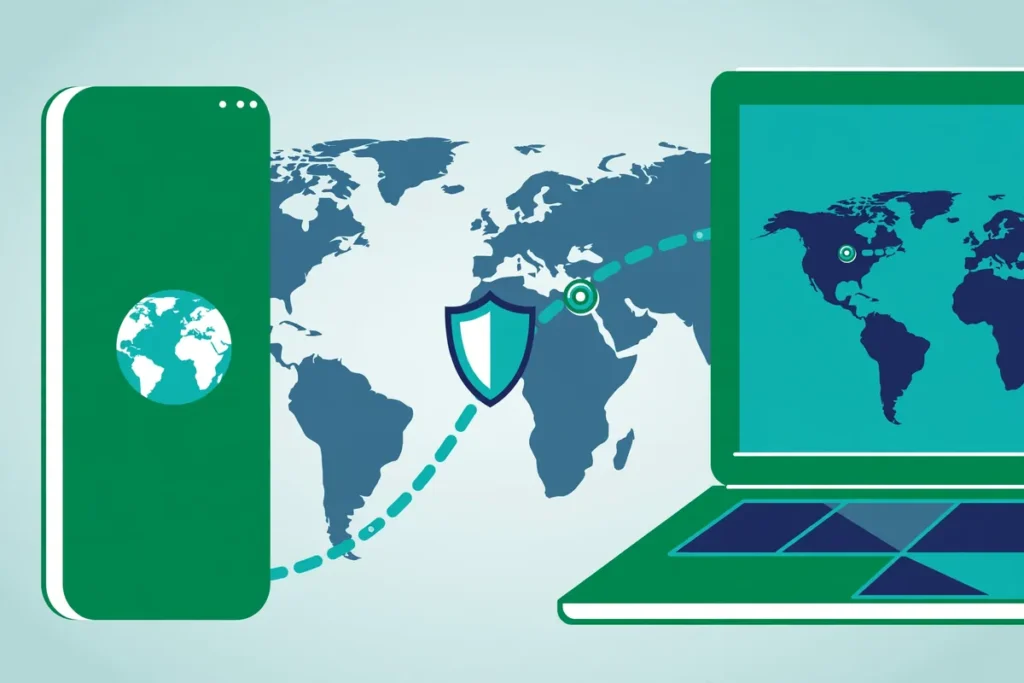
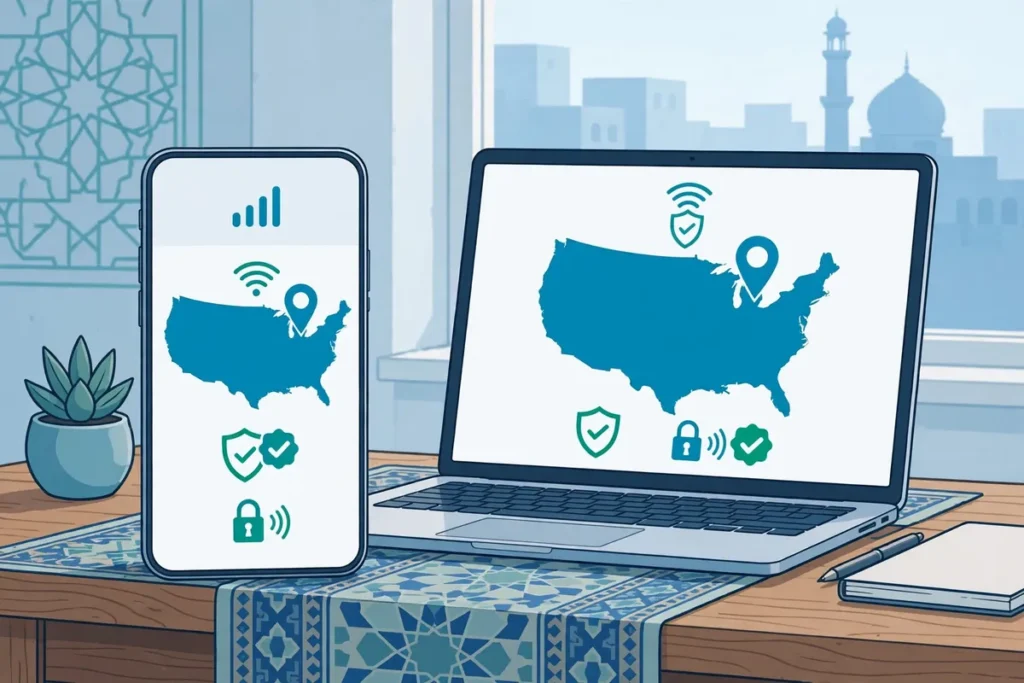
Getting a UAE IP address from Pakistan means connecting through a VPN server in the UAE, so websites see a UAE exit IP address instead of your Pakistani one. The process is simple: choose a provider with UAE servers, connect to a UAE location, and verify the result. Surfshark, with 80% off for our users, is our recommended VPN for Pakistan, with selectable UAE servers on its paid plans.
One warning will save you wasted effort: no reputable ongoing free plan currently lets you select a UAE server. If you begin with a free plan, you will get a server in another country, not a UAE IP address. Choose a paid plan with UAE servers first, and the rest of this guide will work as described.

What a UAE IP Address Actually Is
An IP address is the numeric label that identifies your connection on the internet, and a UAE IP address is simply one registered to a network in the United Arab Emirates. When you connect to a VPN server in Dubai or elsewhere in the UAE, your traffic exits through that server, so the websites you visit see the server’s UAE IP address rather than your own.
That exit IP address is what most location checks read. A website that tailors content by country, or that restricts access by region, usually looks at the country of the IP address making the request. If that country is the UAE, the site treats your visit as coming from the UAE, at least for that particular check.
It is important to understand what a UAE IP address is not. It is not a change to your device’s GPS location, it is not a change to your account’s registered country, and it is not a guarantee that any particular service will work.
Those three things are checked separately, and later sections of this guide explain each one, so you do not mistake a successful IP change for a complete location change.
Step 1: Choose an Eligible Provider
Start by confirming that the provider you choose lists UAE servers on the plan you intend to buy. Open the provider’s official server list or pricing page and look for the United Arab Emirates, Dubai, or Abu Dhabi by name. Do not rely on a review headline alone, and do not assume that a provider with UAE servers on one plan includes them on every plan.
Next, confirm that the app lets you select the UAE location on your device. Most major providers allow country selection on Android, iOS, Windows, and macOS, but the exact interface differs, and some plans or platforms restrict certain locations.
If the UAE appears only as a locked or premium location in the app, you are not on an eligible plan, and you should upgrade or choose a different provider before proceeding.
Finally, check the provider’s current terms for device limits and simultaneous connections, so you know whether one subscription covers your phone and your computer. Terms change, so the official site at the time you subscribe is the reliable source. Our recommended option, Surfshark, is covered in our Surfshark review, which explains its features and limits in more detail.
Step 2: Install the App and Sign In
Download the VPN app only from the provider’s official website or from your device’s official app store. Avoid third-party download sites, modified apps, and free clones, which may carry malware or misrepresent the provider. A genuine app will ask you to sign in with the account you created when you subscribed, and it will show the subscription status inside the app.
After signing in, take a moment to look at the app’s settings before you connect. Enable the kill switch if the app offers one, because it blocks your internet if the VPN drops, preventing your real Pakistani IP address from leaking during a reconnection. Our guide to what a VPN kill switch does explains when this protection matters most.
Also check whether the app has a protocol or connection setting you need to change. Most readers can leave the default protocol alone, and changing settings without a reason can cause connection problems. If you are on a restricted network, the provider’s help pages may suggest a specific protocol, but for a normal home or mobile connection, the default is usually the right starting point.
Step 3: Connect to a UAE Server
Open the app’s location list and search for the United Arab Emirates, or for Dubai if the app lists cities rather than countries. Tap or click the UAE entry, and wait for the app to confirm that it is connected. The app should show a connected status, the server location, and usually the new IP address it has assigned you.
If the app offers a choice between several UAE servers, any of them should give you a UAE exit IP address, so pick the one the app recommends or the first listed. If the app offers a fastest-server option, do not use it for this task, because it may pick a server in a different country. You need a deliberate UAE selection, not simply the fastest available connection.
Wait until the connection is fully established before opening the service you want to use. Opening a browser or app while the VPN is still connecting can cause that app to load with your real IP address, or to cache a location from before the connection. A few seconds of patience at this step prevents a confusing mismatch later.
Step 4: Verify Your Exit IP Address
Verification is the step most guides skip, and it is the step that catches mistakes. Open a browser and visit an independent IP lookup site, one that shows your public IP address and its country. You do not need an account for this, and you should use a lookup site you trust rather than the VPN provider’s own checker alone, so the result is independent.
Check two things on the result page: the country shown, and the IP address itself. The country should read United Arab Emirates, and the city, if shown, should be in the UAE, such as Dubai or Abu Dhabi. If the country reads Pakistan or any other country, you are not currently showing a UAE IP address, and you should work through the troubleshooting section below before using a location-sensitive service.
Note the IP address as well, because some services remember an earlier IP address or location for your account. If you verified a UAE IP address but a service still treats you as being in Pakistan, the problem may be cached data or an account setting, not your VPN connection. Later sections explain how to tell these cases apart.

Getting a UAE IP Address on Android
On Android, install the provider’s app from the Google Play Store or the provider’s official site, sign in, and grant the VPN permission when Android asks. Android shows a key icon in the status bar while a VPN is active, which is a useful quick check that the connection is running. If that icon disappears, the VPN has disconnected, and your real IP address is exposed again.
To select the UAE, open the app, tap the location list, and search for United Arab Emirates or Dubai. Some Android apps list countries first and cities second, so you may need to expand the UAE entry to see its cities. Once connected, verify with an IP lookup in your mobile browser, and keep the app running in the background while you use the service.
Android also has a system setting worth knowing: the always-on VPN option, found in the network settings under VPN. Enabling it for your provider means Android will block traffic if the VPN drops, which adds a second layer of protection beyond the app’s own kill switch. If your app offers its own kill switch, either protection helps, but enabling both does not cause a conflict on most devices.
Getting a UAE IP Address on iPhone
On iPhone, install the provider’s app from the App Store, sign in, and allow the VPN configuration when iOS asks. iOS shows a VPN icon in the status bar while a VPN is active, which gives you the same quick visual check as on Android. If the icon is absent, the VPN is not connected, whatever the app’s last screen may have shown.
Select the UAE from the app’s location list in the same way as on Android, searching for United Arab Emirates or Dubai, and wait for the connected confirmation. Then verify with an IP lookup in Safari or another browser. Do not rely on the app’s own location display alone, because an app can show a selected location while the underlying connection has failed or changed.
iPhone users should also check the location settings of the specific app or service they intend to use, because iOS location permissions are separate from the VPN. An app that has permission to use your device’s GPS will still see your real GPS position, even while your IP address shows the UAE. The section on exit IP versus GPS below explains this in full.
Getting a UAE IP Address on Windows
On Windows, download the provider’s app from its official site, install it, and sign in. Windows may ask you to allow the VPN adapter or a firewall change during installation, which is normal for a genuine VPN app. If Windows Defender or another security tool flags the installer, download it again from the official site rather than from a mirror, and check that the file matches the provider’s published version.
Select the UAE from the app’s location list, connect, and verify with an IP lookup in your browser. Windows users have one extra check worth doing: open a fresh browser window, or a private window, for the verification, so that a previously loaded page does not show you a cached location. A stale tab can display old content even after your IP address has changed.
If you use a Windows desktop app for the service in question, rather than a browser, restart that app after connecting to the VPN. Desktop apps often cache location or account data when they start, and they may not notice a VPN change until they are restarted. A quick restart after connecting is a simple habit that prevents many apparent mismatches.
Checking App and Browser Location Settings
Many services check more than your IP address. Your browser may share your device’s location through its geolocation permission, and your device may share GPS coordinates with apps that request them. A VPN changes your exit IP address, but it does not change your GPS coordinates, and it does not override a browser geolocation permission you have already granted.
In your browser, check the site permissions for the service you are using. If the site has permission to access your location, it may receive GPS or Wi-Fi based coordinates that place you in Pakistan, even while your IP address reads as the UAE.
Revoking that permission, or setting it to ask each time, gives you control, but it may also limit features of the site that genuinely need your location.
In apps, check the system location permission separately. On both Android and iOS, you can set an app’s location access to never, to while using the app, or to always. If a location-sensitive service keeps placing you in Pakistan despite a verified UAE IP address, its location permission is the most likely cause, and changing it is usually more effective than reconnecting the VPN repeatedly.
Exit IP, GPS, and Account Region Explained
Three different location signals are often confused, and understanding them separately will save you frustration. Your exit IP address is the country of the VPN server you are connected through, and it is what IP-based checks read. Your GPS location is the physical position of your device, read from satellites and nearby Wi-Fi networks, and it is what apps with location permission see.
Your account region is a third signal, set when you created an account or added a payment method, and stored by the service itself. A streaming or shopping account created with a Pakistani payment method may remain associated with Pakistan, even when you connect through a UAE server. Changing your IP address does not rewrite that stored account history.
These signals can disagree, and different services weigh them differently. One service may accept a UAE IP address alone, while another may require a matching account region, and a third may check GPS as well. When a service does not behave as you expect, identify which signal it is reading before blaming the VPN, because the fix depends entirely on which signal is wrong.

Troubleshooting a Location Mismatch
Start with the simplest check: confirm that the VPN is still connected and that an IP lookup shows the UAE. If the VPN has disconnected, or if the lookup shows another country, reconnect to a UAE server and verify again. Many mismatches turn out to be a dropped connection or a fastest-server selection that picked a different country.
Next, clear the browser cache and cookies for the service, or try a private browsing window. Websites often store your previous location or region in a cookie, and they may keep using it until that data is cleared. A private window gives you a clean test without deleting your saved logins for other sites, so try it before clearing everything.
Then check for leaks. A DNS leak happens when your DNS requests go to your internet provider rather than through the VPN, which can reveal your real location to a service that checks DNS. Many VPN apps include DNS leak protection, and independent DNS leak test sites can confirm whether your DNS requests are routing through the VPN.
If a leak is found, enable the app’s leak protection or switch to a different protocol, following the provider’s help pages.
Finally, consider time zone and language settings. Some services use your device’s time zone or browser language as a secondary location hint. A device set to Pakistan time while showing a UAE IP address can look inconsistent to a service that checks both. Setting your time zone to match the VPN location is not required for most services, but it can help when a service is unusually strict about consistency.
What to Check Before Using a Location-Sensitive Service
Before you rely on a UAE IP address for a service that restricts by location, run a short pre-flight check. Confirm the VPN is connected to a UAE server, verify the exit IP with an independent lookup, check the app or browser location permissions, and open the service in a fresh or private window. Doing these four checks takes a couple of minutes and prevents most failures.
Also confirm that your account for that service is in good standing and that you understand its terms. Some services prohibit the use of a VPN to access region-restricted content, and they may restrict or suspend accounts that do so. A VPN is a privacy tool, not a guarantee of access, and this guide does not promise that any particular service will work through a UAE server.
Keep your expectations realistic about performance and availability. A UAE server may be busy at peak times, a service may block known VPN IP addresses, and a provider may change its server list. If one UAE server does not work for a particular service, try another UAE server from the same provider before concluding that the whole approach has failed, but accept that some services actively block VPN traffic.
The Paid Route: Why Surfshark Fits This Task
Surfshark fits this task because it combines the three things you need: UAE servers on its paid plans, a location list that lets you select the UAE deliberately, and apps for the devices most readers in Pakistan actually use. That combination is what makes the steps in this guide work end to end, from selection through verification.
As with any paid plan, check the current UAE server availability, device limits, and pricing on the official site before subscribing, because these details change. Also confirm that the app on your specific device shows the UAE location as selectable, rather than assuming that availability on one platform means availability on all of them.
If you already subscribe to another provider with UAE servers, the steps in this guide apply equally to it. The provider matters less than the eligibility check: a selectable UAE server, a verified exit IP, and a clear understanding of GPS and account region. Follow those three, and you will know whether your UAE IP address is genuinely in place.
Surfshark — our recommended VPN for Pakistan
Selectable UAE servers, with apps for Android, iOS, Windows, and macOS.
Frequently Asked Questions
How Do I Confirm My IP Is Located in UAE?
Visit an independent IP lookup site after connecting to a UAE server and check that the country shown is the United Arab Emirates. The lookup should also show a UAE city, such as Dubai or Abu Dhabi, if it displays city-level detail. If the country reads Pakistan or any other country, reconnect to a UAE server and verify again before using a location-sensitive service.
Does Selecting UAE Change Device GPS?
No. Selecting a UAE server changes only your exit IP address, which is what IP-based checks read. Your device’s GPS coordinates remain at your physical location in Pakistan, and any app with location permission can still read them. A VPN does not move your phone, and it does not rewrite GPS data, so GPS-based checks will still place you where you actually are.
What Should I Check Before Using a Location-Sensitive Service?
Check four things: that the VPN is connected to a UAE server, that an independent IP lookup confirms a UAE exit IP, that the app or browser location permissions are set as you intend, and that you have opened the service in a fresh or private window.
Also check the service’s terms, because some services prohibit VPN use for region-restricted content, and a VPN does not guarantee access to any particular service.
Can I Get a UAE IP Address With a Free VPN?
Not with a reputable ongoing free plan, as far as we could verify. Free plans from providers such as Proton VPN, Windscribe, and hide.me do not include a selectable UAE server, and their UAE servers sit on paid plans. A free trial may temporarily give you UAE access, but it is not an ongoing free plan, and it ends after a short period unless you pay.
Why Does a Service Still Show Pakistan After I Connect?
The most common causes are cached location data, GPS or browser location permissions, an account region set to Pakistan, or a dropped VPN connection. Work through them in order: verify the exit IP, try a private window, check location permissions, and consider your account’s registered region. Each cause has a different fix, so identifying the right one matters more than reconnecting repeatedly.
Do I Need a Different Setup for Each Device?
The steps are the same on every device, but the menus differ. On Android and iPhone, you select the location inside the provider’s app and check the VPN icon in the status bar. On Windows, you select the location in the desktop app and verify in a fresh browser window. The verification step, an independent IP lookup showing the UAE, is identical on all of them.
Surfshark — our recommended VPN for Pakistan
Verify your UAE IP address first, then open the service you need.
Conclusion: A UAE IP Address in Four Checks
Getting a UAE IP address from Pakistan comes down to four checks: an eligible provider with selectable UAE servers, a deliberate connection to a UAE location, an independent verification that your exit IP shows the UAE, and a clear view of GPS and account region as separate signals. Get those four right, and you will know exactly what your connection is showing, and what it is not.
Start with a paid plan that lists UAE servers, such as our recommended Surfshark, connect to the UAE, verify the result, and only then open the service you need. If something does not match, work through the troubleshooting steps in order instead of guessing. You can find our other country guides from the freevpn.pk homepage, including our guide to free UAE VPN availability.