Setting up Mullvad in Pakistan takes about five minutes: generate a random 16-digit account number on Mullvad’s website, add time to the account, install the official app, log in with the number, and connect to a server. Surfshark is our recommended VPN for Pakistan, with 80% off for our users, and it is the simpler choice if Mullvad’s anonymous account system or its flat pricing does not suit you.
This guide covers Mullvad itself in full for readers who want its privacy-first design.
Everything in this guide was checked against Mullvad’s official documentation and current 2026 reviews in November 2026, and anything we could not verify from an official source is flagged as such instead of presented as fact.
Setup steps are real and checkable: download only from Mullvad’s own site or official app stores, and never pay anyone who offers a “free Mullvad account”, because Mullvad sells time only through its own channels.
Mullvad Setup in Pakistan: The Short Answer
Mullvad setup has four steps. First, create an account on Mullvad’s website and receive a random 16-digit account number. No email address, name, or password is required, and the number is your only login credential.
Second, add time to the account by paying €5 per month, which is Mullvad’s flat price, unchanged since 2009, with no discount for longer terms. Third, download the official Mullvad app for your device and log in with the account number. Fourth, choose a server and connect, then verify the tunnel with an IP lookup.
The part that surprises most new users is the account number. There is no username and no password to forget, but there is also no password reset. If you lose the 16-digit number, Mullvad cannot recover your account, because it holds no email address or name to send a reset to. Save the number somewhere safe the moment you create it.
Mullvad costs €5 per month including VAT, and the price is the same whether you buy one month or a year. That works out to €60 for twelve months if you pay month by month.
There is no free plan and no free trial, so the only way to test Mullvad is to pay for one month. Card and PayPal payments carry a 14-day money-back guarantee, while cash payments cannot be refunded, because Mullvad cannot trace them.
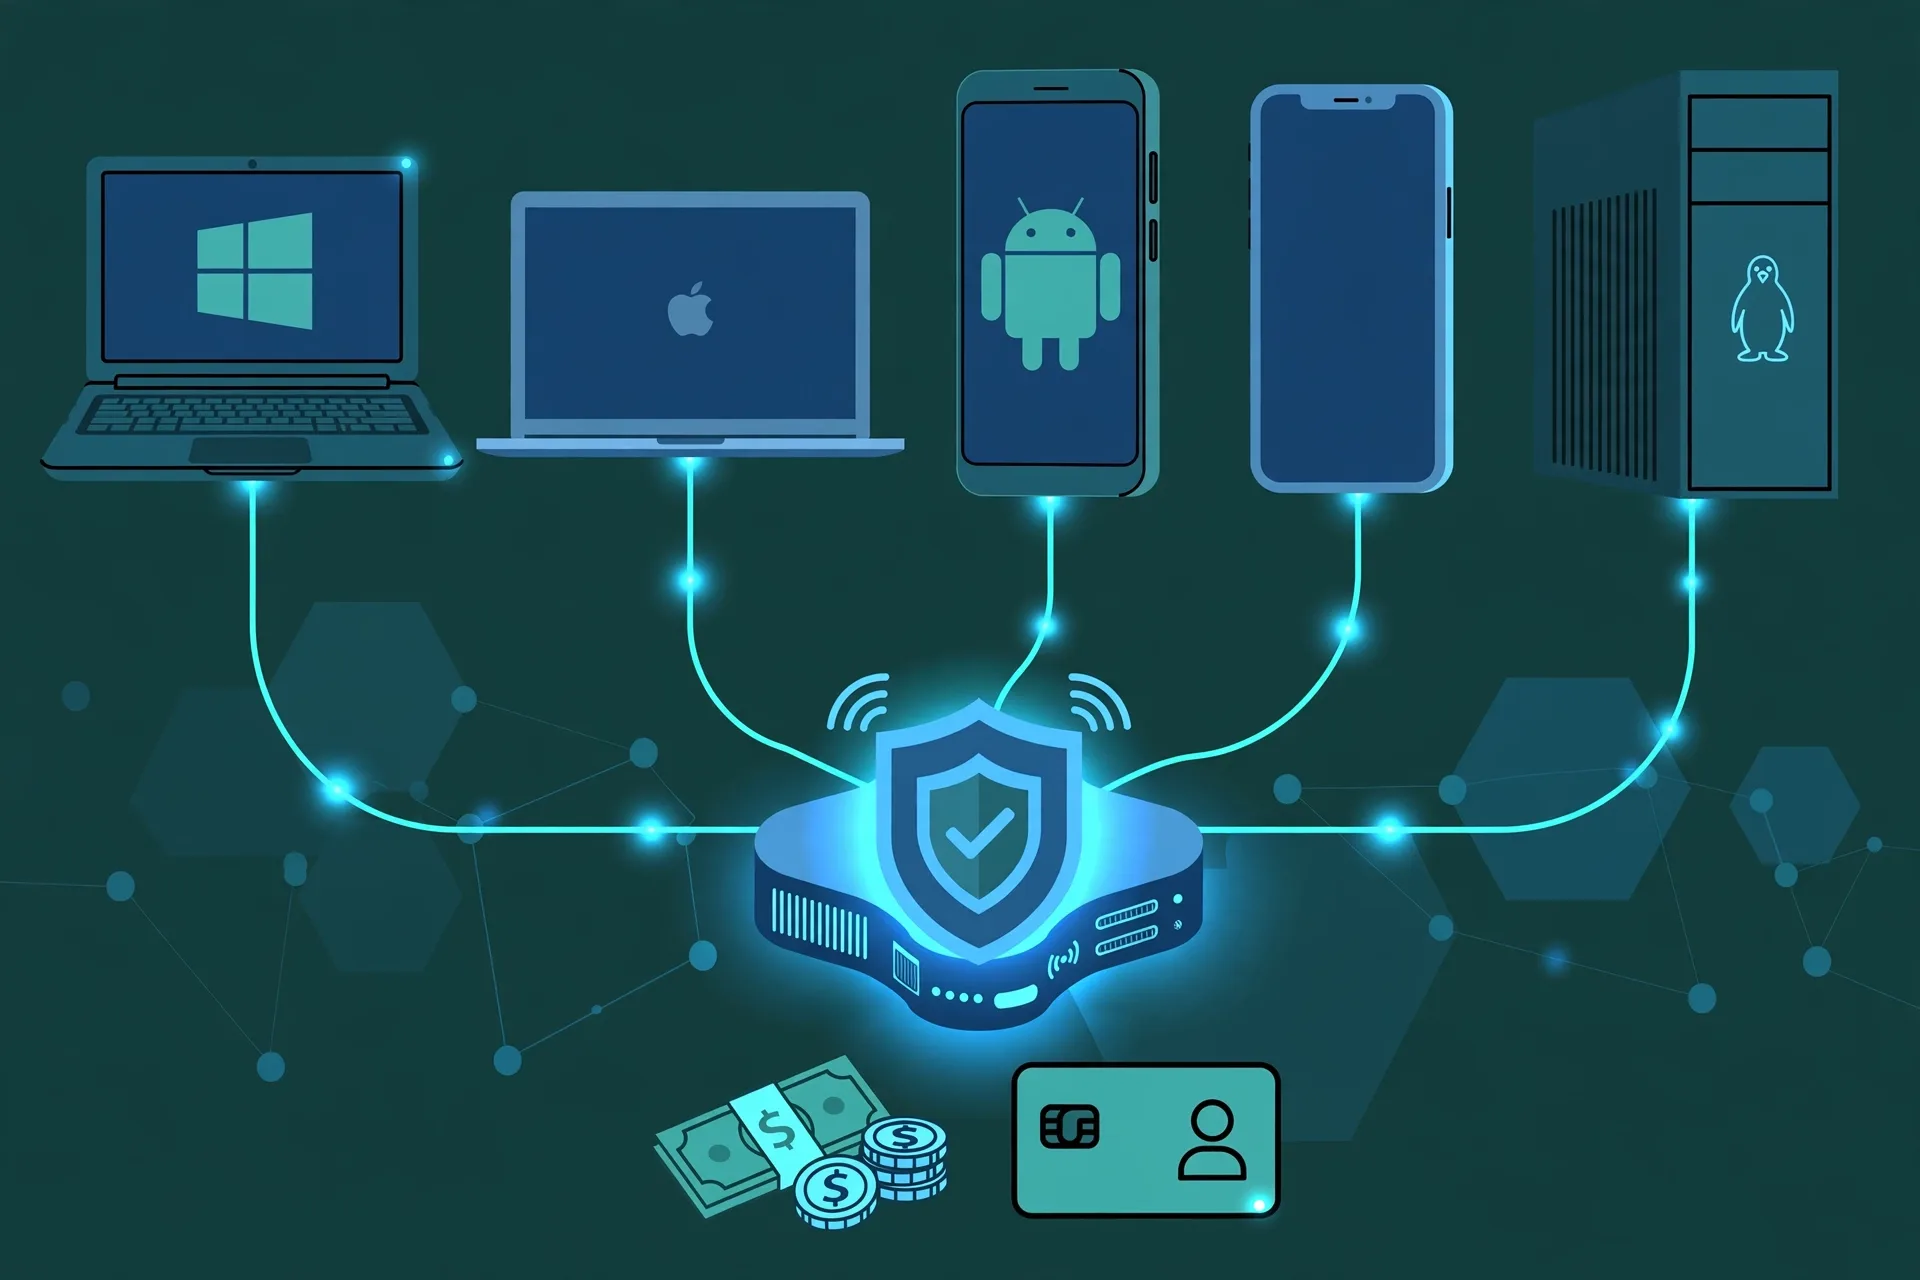
One account covers up to five devices at the same time. That includes Windows, macOS, Linux, Android, and iOS, plus Android TV. If you need more than five devices, you need a second account, because Mullvad does not sell extra device slots. This guide explains each step in detail, including the settings to check after you connect.
What You Need Before You Start
Before you create an account, gather three things: a payment method Mullvad accepts, a safe place to store the account number, and a device running a supported operating system. Mullvad accepts cards, PayPal, bank transfer, Bitcoin, Bitcoin Cash, Monero, and cash sent by post.
Crypto payments receive a 10% discount according to current guides, which would make a month €4.50 instead of €5, though we could not confirm that discount on Mullvad’s official pricing page at the time of writing.
Payment from Pakistan needs a little thought. International card payments in euros depend on your bank’s exchange rate and any foreign transaction fee it charges, so the rupee amount on your statement will vary from month to month.
PayPal availability also depends on your account’s country settings. If card payment fails, try PayPal, or consider a voucher bought from a reseller listed on Mullvad’s own site. Never buy a Mullvad voucher from an unofficial seller.
For storing the account number, use a password manager or write it on paper and keep it somewhere safe. Do not store it in a plain text file on your desktop, and do not share it with anyone. Anyone who has the number can use your remaining account time, and Mullvad cannot distinguish you from someone else who types it in.
Check your device is supported. Mullvad publishes apps for Windows, macOS, Linux, Android, and iOS. Older operating systems may not run the latest app, so check the system requirements on Mullvad’s download page before you pay. If your device cannot run the app, the manual WireGuard setup described later in this guide is an alternative, but it is more work and is labelled as untested by us.
Finally, understand what Mullvad is not. It does not offer a free plan, it does not run sales, and it does not position itself as a way to access region-restricted streaming catalogues. If streaming access or a free tier is your priority, another provider will suit you better. Mullvad’s strength is privacy: no personal details at signup, open-source apps, and a public audit trail.
Step 1: Create Your Mullvad Account Number
Open Mullvad’s website in your browser and look for the option to generate an account. The site creates a random 16-digit number for you immediately, with no form to fill in and no email address to confirm. That number is your account. There is no username, no password, and nothing else to remember.
Write the number down before you do anything else. The website shows it once, and if you close the page without saving it, the account and any time you paid for are gone. A password manager is the best place for it, because it is encrypted and backed up. A notebook kept at home is the next best option.
Next, add time to the account. Mullvad’s pricing page shows €5 per month, and you choose how many months to buy. One month is the sensible first purchase, because it lets you test the service on your own connection in Pakistan before you commit to more. Longer purchases cost the same €5 per month, so there is no financial reason to buy a year up front.
Choose your payment method on the same page. Cards and PayPal are the simplest from Pakistan, and both are covered by the 14-day money-back guarantee. Cash by post is the most anonymous option, but it takes days to arrive in Sweden, and it cannot be refunded.
Crypto is a middle option: more private than a card, faster than post, and reported to carry a 10% discount, though that discount was not confirmed on the official pricing page at the time of writing.
After payment, check that the account shows the time you bought. Log in to the account page on Mullvad’s website with your number and confirm the expiry date. If the time does not appear, wait a few minutes and check again, then contact Mullvad support with your payment reference. Do not create a second account while you wait, because you will end up paying twice.
Step 2: Download the Official Mullvad App
Download the Mullvad app only from Mullvad’s own website or from the official app stores. On Windows and macOS, the download page offers a small installer that fetches the full app, plus a larger standalone file. Either works. On Linux, Mullvad provides packages for the common distributions, with install instructions on its download page.
On Android, install from the Google Play Store when it is available. Mullvad also publishes its Android app on F-Droid and offers a direct APK download from its own site for users who cannot use the Play Store. If you download the APK, get it only from Mullvad’s website, never from a third-party APK site, because a modified APK can steal your account number.
On iPhone, install from the App Store. The iOS app is the same Mullvad app with the same account-number login, but Apple’s rules limit some features, which this guide covers in the iOS section below. There is no separate Mullvad app for iPad beyond the iPhone app, and there is no Mullvad app for smart TVs except Android TV.
Check the file you downloaded before you run it. On Windows and macOS, the installer should be signed by Mullvad VPN AB. If your operating system warns that the publisher is unknown, stop and re-download from Mullvad’s site. A genuine installer will not trigger that warning.
Keep the app updated. Mullvad releases new versions regularly, and updates include security fixes and new features such as DAITA, its defence against AI traffic analysis. Turn on automatic updates if your device offers them, and check the version number in the app’s settings against the latest release on Mullvad’s site at least once a month.
Step 3: Install and Log In With Your Account Number
Run the installer you downloaded and follow the prompts. On Windows, the installer asks for administrator permission, because it needs to install a network driver for the tunnel. Accept it. On macOS, you may need to allow a system extension in the Security settings the first time the app runs. On Linux, install the package with your distribution’s package manager, then start the Mullvad daemon before you open the app.
Open the app and you will see two options: create a new account, or log in with an existing account number. Choose the login option and type in the 16-digit number you saved in Step 1.
The app checks the number against Mullvad’s servers and shows how much time is left on the account. If it says the account has no time, go back to the website and confirm your payment went through.
If the login fails, check the number first. A single wrong digit is the most common cause, and the number is long enough that a typing error is easy.
Copy and paste it from your password manager instead of typing it, and check that no extra space crept in at the start or the end. If the number is correct and login still fails, check your internet connection and try again, because the app needs to reach Mullvad’s servers to verify the account.
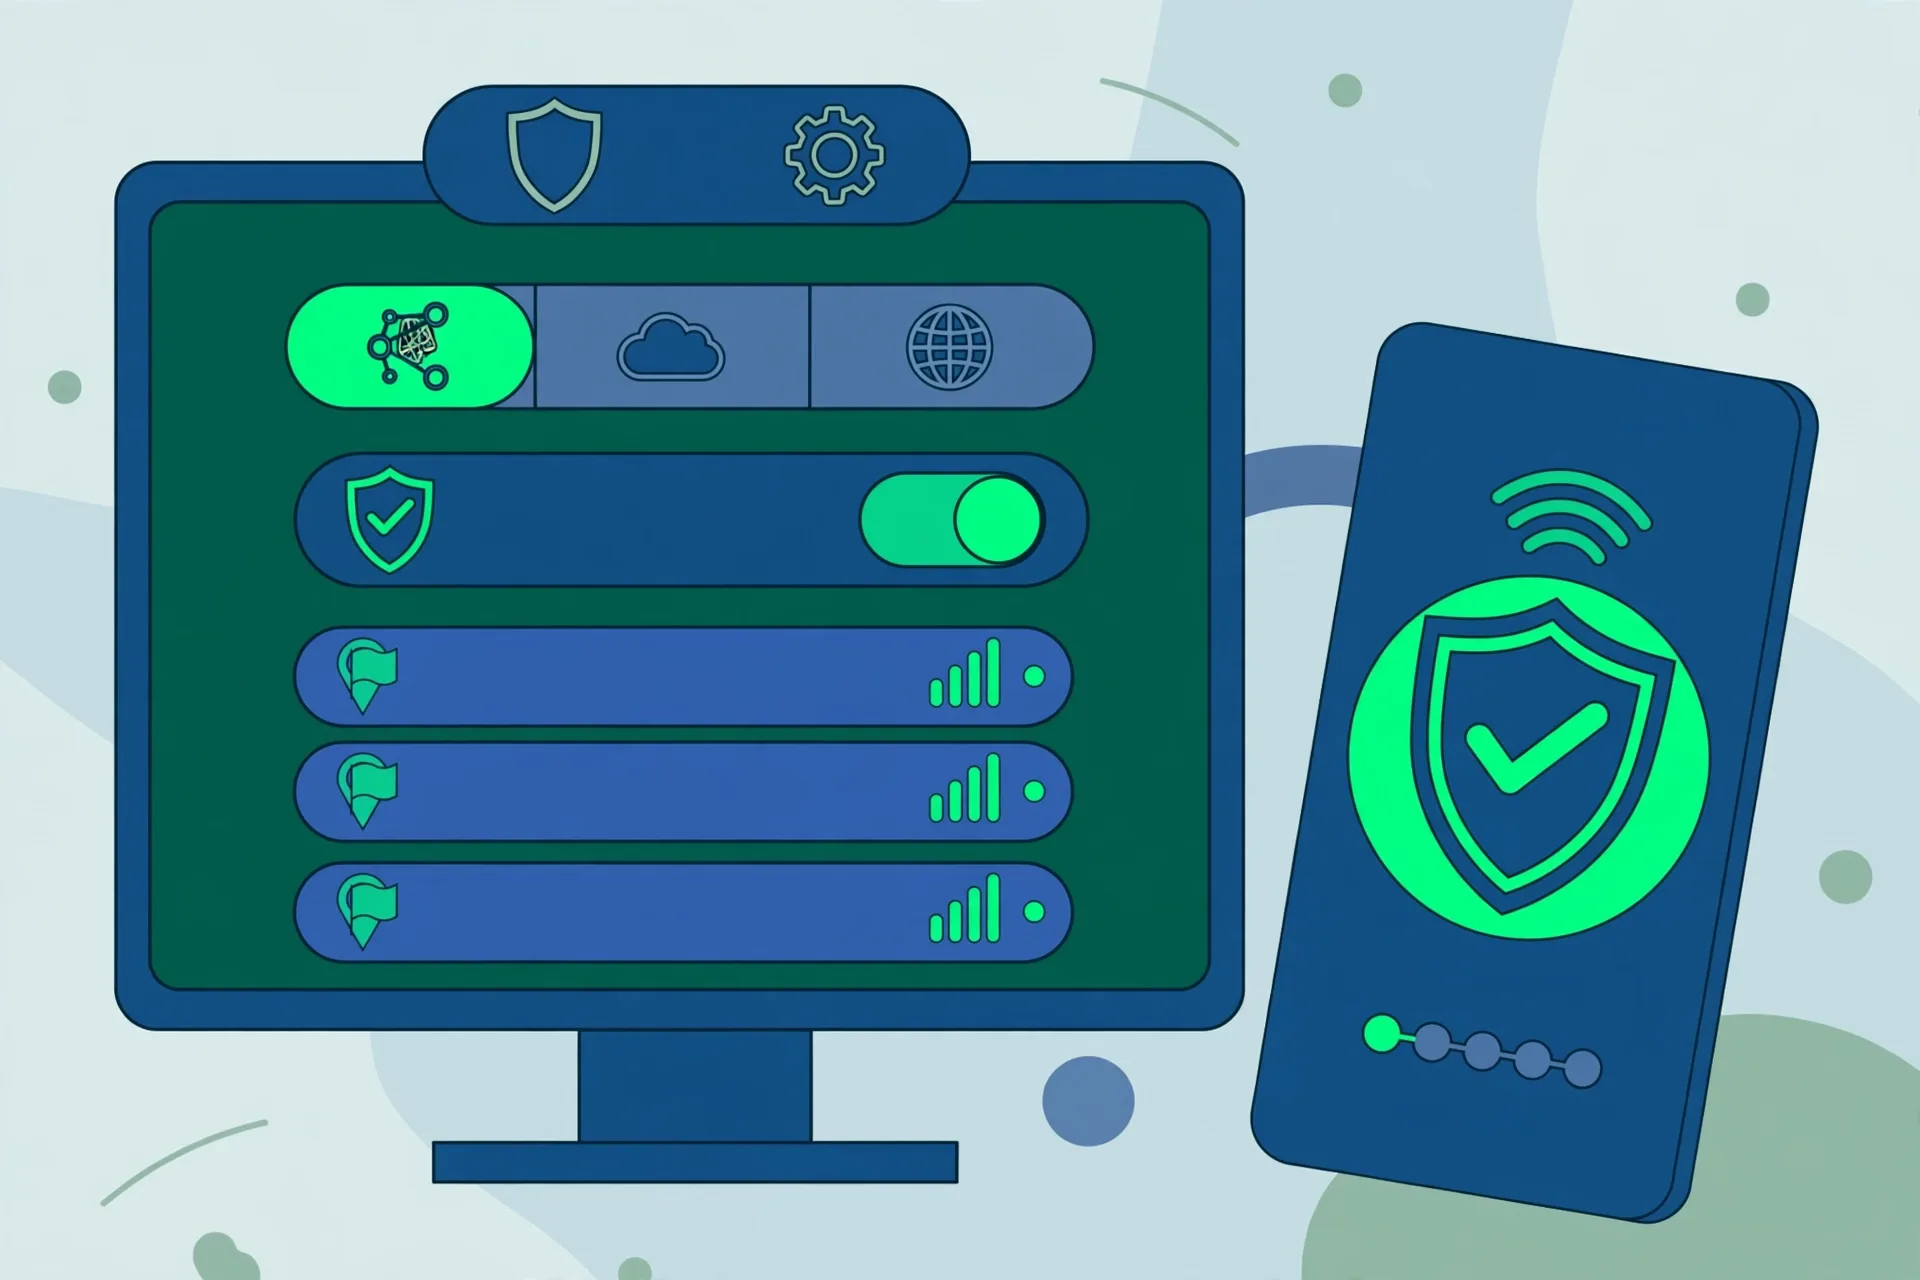
Once you are logged in, look at the app’s main screen. It shows a large connect button, the current server location, and your account’s remaining time. Before you connect, open the settings and check the defaults, which the next section explains. Getting the settings right now saves troubleshooting later.
Step 4: Choose WireGuard and Connect to a Server
Mullvad’s app uses WireGuard as its tunnel protocol, and WireGuard is the default. WireGuard is fast, modern, and built on UDP, which makes it a good choice for most uses in Pakistan. Open the app’s settings, confirm the protocol is set to WireGuard, and leave it there unless you have a specific reason to change it.
A note on OpenVPN, because older guides still mention it: multiple 2026 reviews report that Mullvad retired OpenVPN support and its OpenVPN servers in January 2026, and the current app is WireGuard-only. We could not confirm a current OpenVPN option on Mullvad’s official site at the time of writing, so this guide treats Mullvad as WireGuard-only.
If you need OpenVPN for a specific network, check Mullvad’s site before you buy, or use a provider that still offers it. Our OpenVPN explained guide covers that protocol in detail, and our WireGuard VPN test checklist explains how to measure a WireGuard connection.
To connect, tap the location selector in the app and choose a country or a specific server. Mullvad lists servers by country and city, and you can filter by the features you need.
For everyday use from Pakistan, a nearby server in the United Arab Emirates or Singapore usually gives the best speed, because the distance is short. For a specific country’s IP address, choose that country instead and accept the extra latency.
Tap Connect and wait for the app to confirm the tunnel is active. The app shows a green connected status, the server you are on, and your new IP address. Do not start browsing until you see that confirmation. The first connection can take a few seconds while the app sets up the tunnel, and a lookup run too early will show your real location.
Two advanced features are worth knowing. Multihop routes your traffic through two servers instead of one, which adds privacy at the cost of speed. DAITA, which Mullvad calls Defence against AI-guided Traffic Analysis, adds padding to your traffic to make it harder to fingerprint. Both are optional and off by default. Turn them on only if you understand the speed trade-off, and test the result before you rely on them.
Surfshark vs Mullvad for Pakistan Users
Mullvad and Surfshark serve different readers, and an honest comparison helps you choose. Mullvad’s strength is privacy: no email at signup, a flat €5 price, open-source apps, and a long public audit trail. Its weakness is simplicity of choice: one price, no free trial, no streaming promises, and a smaller server network than the big commercial providers.
Surfshark is our recommendation for most readers in Pakistan. It offers unlimited simultaneous connections instead of Mullvad’s five, a 7-day free trial on longer plans, a 30-day money-back guarantee, and servers in 100 countries, including a Vietnam location and servers in the United Arab Emirates and Singapore. It also includes features Mullvad does not offer, such as NoBorders mode for restricted networks and split tunnelling on Windows and Android.
The price comparison depends on how you buy. Mullvad costs €5 a month, every month, with no discount for paying yearly. Surfshark’s long plans cost far less per month, and our readers get 80% off through the link in this guide. Over a year, Surfshark is the cheaper option for most households, especially one with more than five devices.
Choose Mullvad if your priority is anonymous signup with no personal details, a provider that does not run sales or track you with marketing, and open-source apps you can inspect. Choose Surfshark if your priority is value, unlimited devices, streaming access, and a free trial before you pay. Either way, judge the provider by testing it on your own connection in Pakistan, not by a marketing claim.
Surfshark — our recommended VPN for Pakistan
Unlimited devices, a 7-day free trial, and 80% off for our users.
One honest caveat about this comparison: we did not run hands-on speed tests of Mullvad from Pakistan, so we do not quote speed or latency figures for it here. The comparison above uses only documented facts: price, device limit, protocol, and features published by the providers. Your own test, using the verification steps in this guide, is the only reliable measure of how Mullvad performs on your connection.
Step 5: Verify the Tunnel Is Working
Verification is the step most setup guides skip, and it is the step that catches almost every problem. Never trust the app’s green connected label alone. The app can say connected while your traffic still leaks, or while the tunnel is routing through a different location than you selected.
Start with a plain IP lookup. Disconnect the VPN first and visit an IP lookup site, then write down the country and IP address it shows. That is your baseline. Then connect Mullvad, reload the same lookup site, and compare. The country should match the server you selected, and the IP address should be different.
Next, check for DNS leaks. Mullvad runs its own DNS servers and routes your DNS requests through the tunnel by default, which is the correct behaviour. A leak test site shows which DNS servers handled your requests.
Every server in the list should belong to Mullvad or its partners, never to your home internet provider. If your provider’s DNS appears, check the app’s settings for a DNS option and make sure it is set to Mullvad’s DNS.
Then test the kill switch. Mullvad’s kill switch blocks all internet traffic when the tunnel is down, and in newer versions of the app it is called Lockdown mode. Turn it on in the settings.
To test it, connect the VPN, then force the tunnel to drop by switching networks or closing the app’s connection, and confirm that your internet stops entirely instead of falling back to your real connection. That behaviour is what protects you.
Check the result against more than one lookup service. Geolocation databases disagree with each other, and one database may still list a new IP address under its old country. If two out of three services agree with the server you selected, the setup is almost certainly correct. Repeat the checks on every device you use, because each device has its own settings and its own chance of leaking.
Mullvad Setup on Android and iPhone
On Android, install the Mullvad app from the Play Store, F-Droid, or Mullvad’s own APK download, then log in with your account number and connect. Android lets you turn on always-on VPN in the system settings, which keeps the tunnel active whenever the device is on. Turn on the kill switch in the Mullvad app as well, so a dropped tunnel cannot expose your real IP address.
Android also supports split tunnelling in the Mullvad app, which lets you choose which apps use the VPN and which connect directly. That is useful if you want your banking app to stay on your normal connection while everything else goes through Mullvad. Check the app’s settings for the split tunnelling option, because its exact location changes between versions.
On iPhone, install from the App Store, log in with your account number, and connect. iOS asks you to approve the VPN configuration the first time you connect. Accept it, and the app can then create the tunnel whenever you tap Connect. Apple’s rules limit some features on iOS: split tunnelling per app is generally not available, because iOS does not let VPN apps route traffic app by app.
The iPhone kill switch is built into iOS itself: when the VPN is on and the tunnel drops, iOS blocks traffic until the tunnel comes back, provided the VPN profile is set up correctly.
Check in the Mullvad app’s settings that the kill switch or its equivalent is enabled. Multihop and DAITA are available on iOS in recent versions of the app, but check the version you have installed, because feature availability changes between releases.
Manual WireGuard Profiles and Advanced Setup
Mullvad also supports manual WireGuard configuration for routers and devices that cannot run its app. From your Mullvad account page on the website, you can generate WireGuard configuration files for a chosen server, download them, and import them into a WireGuard client or a compatible router. This is the way to protect a whole home network, or a device such as a smart TV that has no Mullvad app.
The steps are straightforward in principle: generate a key pair, download the configuration file for your chosen server, and upload it to your router’s VPN settings or import it into the WireGuard app. Mullvad’s own guides and the OPNsense community documentation describe the process for routers, including the endpoint port 51820 that WireGuard uses by default.
This method is labelled as untested by us. We did not set up a manual WireGuard profile with Mullvad from Pakistan, and we did not test it on a router, so we cannot confirm the exact steps on current firmware or the result on a Pakistani connection.
If you try it, follow Mullvad’s official documentation, test the tunnel with the verification steps in this guide, and keep the Mullvad app as a fallback on at least one device.
Manual setup also has a maintenance cost. Configuration files are tied to a key pair, and you need to manage them yourself. If a server is retired or your keys expire, the tunnel stops working until you generate new files. The app handles all of that automatically, which is why most readers should use the app and leave manual profiles to routers and special cases.
Mullvad Setup Troubleshooting
Most Mullvad setup problems fall into a small set of causes. The table below is a starting point, and the steps after it explain how to work through each one.
Login fails with a correct account number. Check that the account has time left by logging in to the account page on Mullvad’s website. If the website says the account is valid but the app refuses it, check your internet connection, because the app must reach Mullvad’s servers to verify the number. Try a different network, such as mobile data, to rule out a network block.
Connection fails immediately. Try a different server first, because a single server can be temporarily down. Then check whether your network blocks VPN traffic: try connecting on mobile data, and if that works, your home network is the problem.
Mullvad’s WireGuard traffic can be blocked by some networks, and switching to a different server or enabling multihop sometimes helps, though we could not verify a reliable workaround for every Pakistani network.
The app will not start. On Windows, run the installer again and choose the repair option, or uninstall and reinstall from Mullvad’s website. On Linux, check that the Mullvad daemon is running before you open the app, because the app cannot work without it. On macOS, check that you allowed the system extension in the Security settings.
Speed is much slower than expected. Connect to a nearer server first, because distance is the biggest factor. Turn off multihop and DAITA if you enabled them, because both add overhead. Test at a different time of day, because congestion on your own connection matters as much as the VPN. We did not measure Mullvad’s speed from Pakistan, so we do not quote a figure here.
IP lookup shows the wrong country. Check that you selected the server you intended, because the app remembers your last choice. Try a different server in the same country, and check the result on a second lookup site, because geolocation databases disagree. If every lookup disagrees with the server you chose, contact Mullvad support with the server name and the IP address shown.
If nothing works, escalate in order. Update the app, restart your device, try a different network, and then contact Mullvad support with your test notes: the error message, the server you used, and whether the connection worked without the VPN. Support is reached by email, and Mullvad publishes its support address on its website. That evidence lets support help you in one reply instead of five.
Mullvad Limits and Things to Know
Mullvad has real limits, and an honest guide should state them. First, there is no free plan and no free trial. The only way to test Mullvad is to pay €5 for one month, and the 14-day money-back guarantee applies only to traceable payments such as cards and PayPal, not to cash.
Second, Mullvad does not offer port forwarding. It removed the feature, and it matters if you run a home server or need incoming connections. Most readers will never notice, but if you need it, Mullvad is the wrong provider.
Third, streaming access is not a dependable promise. Mullvad does not market itself as a way to access region-restricted streaming catalogues, and current reviews note that streaming access is unreliable. If streaming is your main reason for a VPN, choose a provider that tests and supports it, such as Surfshark.
Fourth, the five-device limit is firm. Mullvad does not sell extra slots, and a sixth device cannot connect until you remove one or buy a second account. Households with many devices should count them before they pay.
Fifth, the account number is both Mullvad’s greatest strength and its greatest risk. No email means no tracking and no password to leak, but it also means no recovery. Lose the number and you lose the account, including any time you paid for. Save it the moment you create it, and keep a backup somewhere safe.
On the legal side, VPN use in Pakistan is a subject readers should check for themselves. Pakistan’s telecom regulator, the PTA, has run VPN registration programmes, and the rules have changed over time.
This guide does not give legal advice, and we could not verify the current registration position from an official source at the time of writing. Check the PTA’s current guidance before you rely on any VPN in Pakistan.
Mullvad Setup: Frequently Asked Questions
Where Should I Download the Official Mullvad App?
Download the Mullvad app only from Mullvad’s own website or the official app stores: Google Play, F-Droid, or Mullvad’s direct APK for Android, and the App Store for iPhone. On Windows and macOS, use the installer from Mullvad’s download page. Never download from a third-party site, and never pay anyone offering a “free Mullvad account”, because Mullvad sells time only through its own channels.
How Do I Connect to a Server?
Log in to the Mullvad app with your 16-digit account number, tap the location selector, choose a country or a specific server, and tap Connect. WireGuard is the default protocol. For everyday use from Pakistan, a nearby server in the United Arab Emirates or Singapore usually gives the best speed. Wait for the app to confirm the tunnel is active before you start browsing.
How Can I Check That the Tunnel Is Working?
Record a baseline first: disconnect the VPN, visit an IP lookup site, and note the country and address. Then connect Mullvad, reload the same site, and confirm the country matches your chosen server and the address changed.
Run a DNS leak test to confirm your DNS requests go through Mullvad, and test the kill switch by forcing the tunnel to drop and confirming your internet stops instead of falling back to your real connection.
Conclusion: Mullvad Setup for Pakistan Users
Mullvad setup in Pakistan is simple once you understand the account number. Generate the 16-digit number on Mullvad’s website, add €5 of time, install the official app, log in with the number, and connect to a server with WireGuard. Save the number the moment you create it, turn on the kill switch, and verify the tunnel with an IP lookup and a DNS leak test before you rely on it.
Mullvad suits readers who want anonymous signup, open-source apps, and a flat price with no sales or tracking. For most readers in Pakistan, Surfshark is the simpler and cheaper choice, with unlimited devices, a free trial, and 80% off for our users, and the comparison in this guide should help you decide.
Whichever you choose, test it on your own connection and let the result decide. Get the setup right, and Mullvad is private, straightforward, and reliable, with 80% off for our users on our recommended alternative.
Surfshark — our recommended VPN for Pakistan
Try the simpler alternative first — 7-day free trial and 80% off for our users.