How do I test WireGuard VPN? You test it by checking, in order, that your IP address changes, that your DNS requests go through the tunnel, that your kill switch blocks traffic if the tunnel drops, and that your connection stays stable during normal use. Surfshark, with 80% off for our users, is our recommended VPN for Pakistan.
This checklist gives you a repeatable method for verifying any WireGuard configuration, whether it comes from a VPN app or a manual setup.
WireGuard is a modern VPN protocol known for its small codebase, fast connection times and straightforward configuration. Those strengths, however, do not remove the need to verify that it is actually working on your device. A configuration file can look correct and still leak DNS requests, fail to route some traffic, or drop silently without a kill switch to catch it.
Testing is what turns a plausible setup into a trusted one.
This guide is written for users in Pakistan, where network conditions, PTA registration requirements for some VPN uses, and provider throttling can all affect results. It does not promise a particular speed or outcome, and it does not invent technical proof for claims that are matters of policy rather than measurement.
Where a check can only be done by observing behaviour, this guide says so, and where a result depends on your provider, it tells you how to record evidence your provider’s support team can actually use.
Direct Answer: How to Test WireGuard VPN
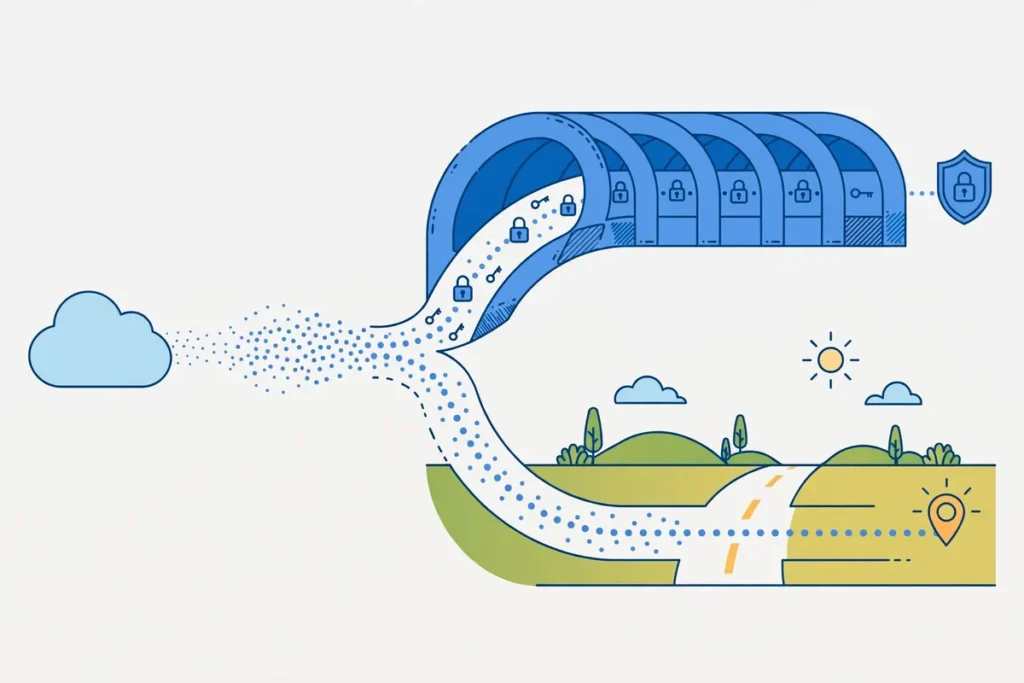
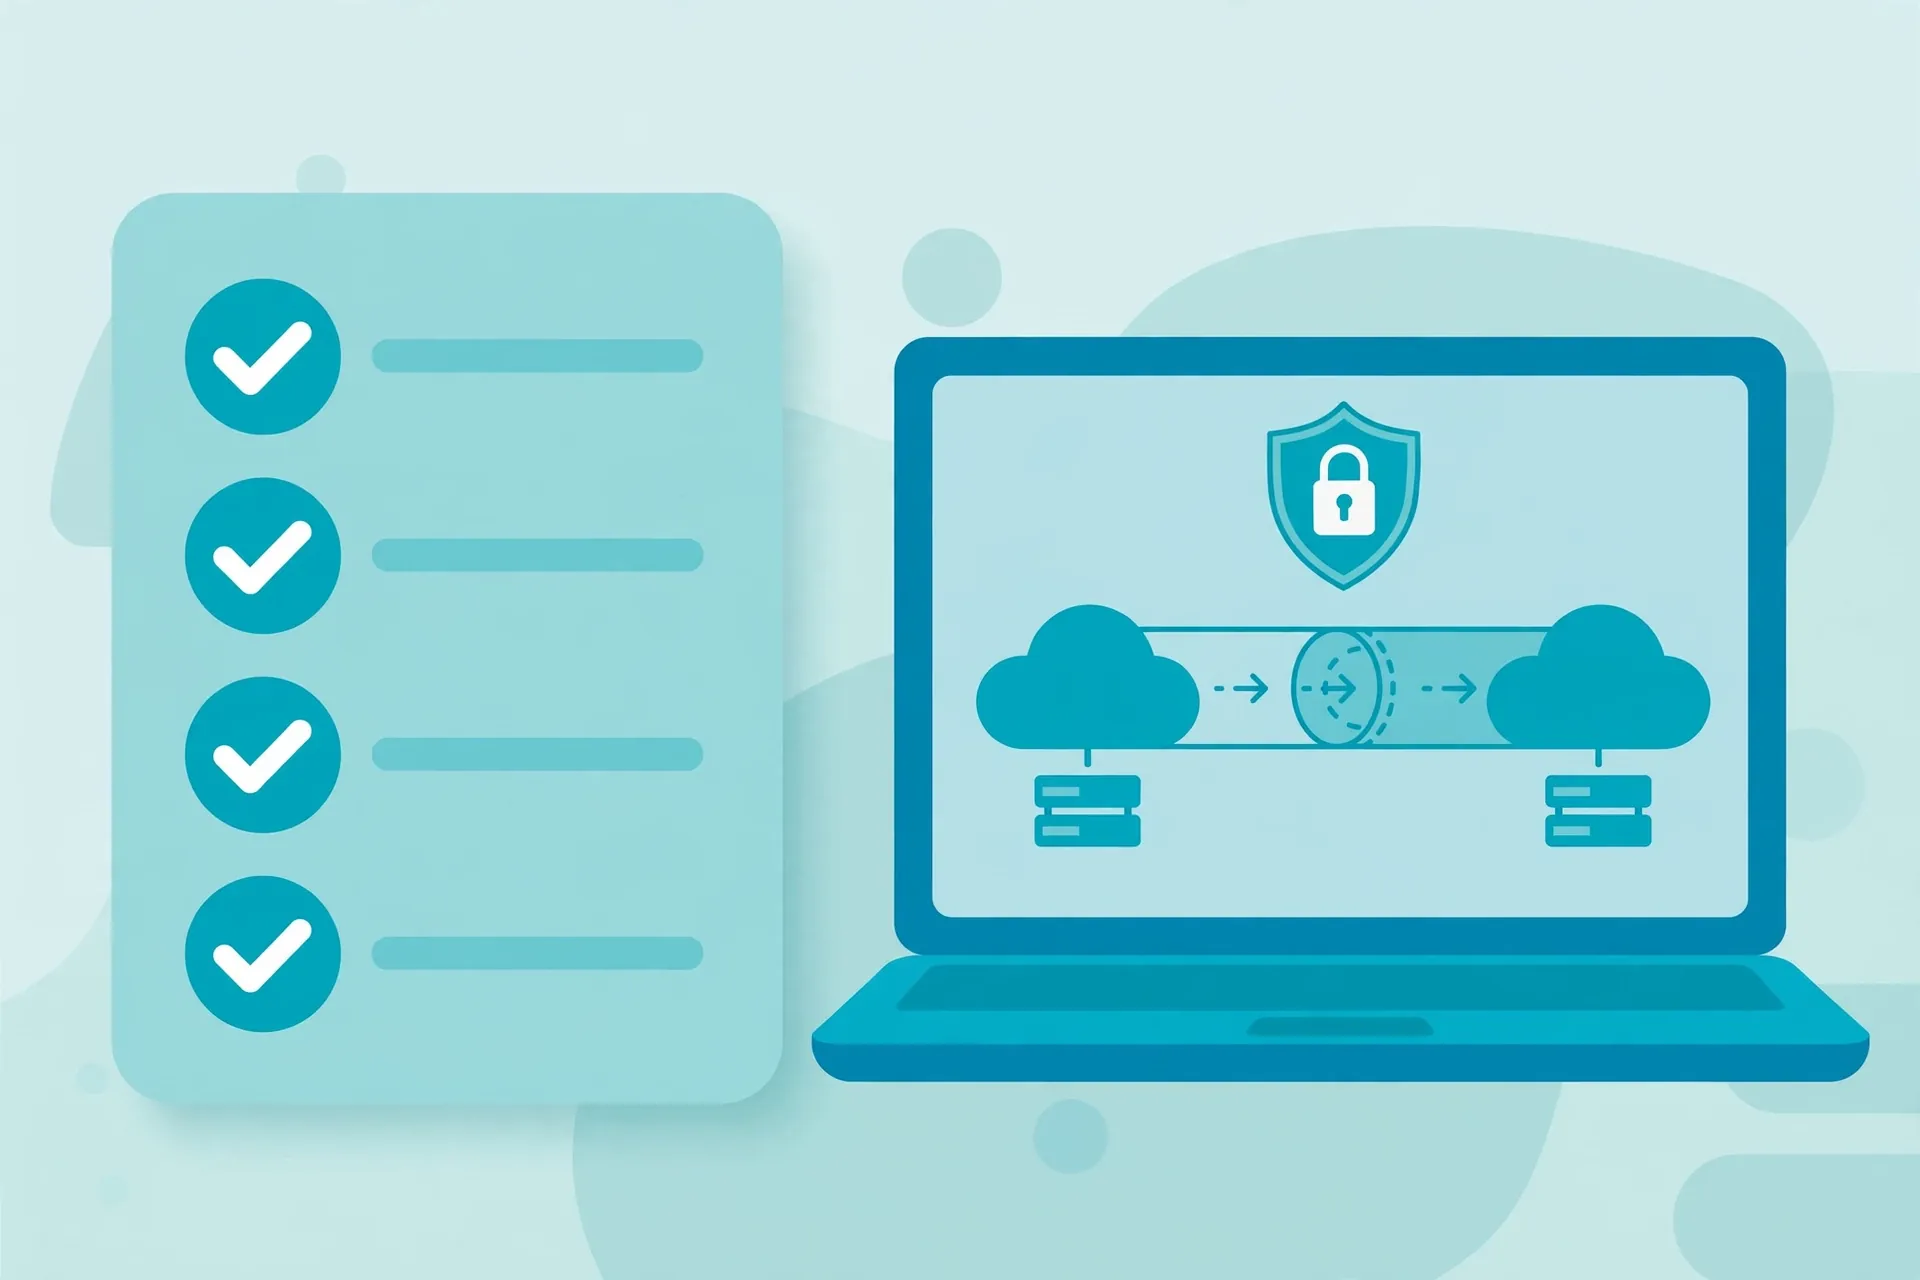
Testing WireGuard means confirming four things. First, your public IP address and location change to the VPN server’s when the tunnel is up. Second, your DNS lookups travel inside the tunnel rather than leaking to your internet provider. Third, traffic stops rather than leaking when the tunnel drops. Fourth, the tunnel stays up and usable during the activities you actually do, such as browsing, streaming and video calls.
Each of those four checks needs a different tool or observation, and none of them can be replaced by another. A changed IP address does not prove your DNS is safe, and a stable connection does not prove your kill switch works. Work through the checklist in order, write down each result, and only treat the setup as verified when all four checks pass.
You do not need expensive tools for any of this. A browser, a public IP checker, a DNS leak test site and a stopwatch or clock are enough for the core checks. Advanced users can add command-line tools such as ping and traceroute, but the browser-based checks in this guide will catch the problems that matter most to ordinary users.
Before you start, read the safe test conditions in the next section. Testing a VPN carelessly can briefly expose your real IP address, and testing on a work or shared network without permission can breach that network’s rules. A few minutes of preparation prevents both problems.
Prerequisites and Safe Test Conditions
Start with a device you control and a network you are allowed to test on. Your home connection is ideal, because you can change settings and reconnect freely. Avoid running kill switch drop tests on a work network, a university network or a shared connection without permission, since deliberately dropping a connection can interrupt other users or trigger security alerts.
Make sure you know how to restore your normal connection before you begin. Note down your current network settings, keep your VPN app or configuration file to hand, and know how to disconnect the tunnel and return to a direct connection. If a test leaves you offline, the fix is usually to disconnect the VPN and reconnect to your network, but knowing that in advance saves panic.
Close or pause anything that depends on a continuous connection before you run drop tests. Downloads, video calls and online games will all be interrupted when you test the kill switch, and that interruption is the point of the test. Schedule your testing for a time when a brief outage does not matter.
Record your baseline before you connect the VPN. Visit an IP checker and a DNS leak test site without the VPN and note your real IP address, your internet provider and the DNS servers shown. You will compare every later result against this baseline, and without it you cannot tell whether a later result is a leak or a normal value.
Use the same test sites and the same method for every check. Switching sites between tests introduces differences that have nothing to do with your VPN, and makes your notes harder for support teams to interpret. Pick one IP checker and one DNS leak test site, and use them throughout.
What You Need Before You Start
You need a working WireGuard configuration or a VPN app that offers WireGuard, a browser, and a way to take notes. A simple text file or paper notebook is enough; the point is to record results at the time you see them, not to reconstruct them later from memory. Screenshots help, but write down the key values as text too, because screenshots can be hard to search later.
You also need to know which server you are connecting to and which protocol settings your configuration uses. If your app selects a server automatically, note that fact and the server it actually chose, which most apps display after connecting. Automatic selection is fine for testing, but your notes must record what was actually tested.
Finally, check that your device’s clock is correct. Timestamps matter when you report a problem to support, and a device clock that is hours out makes your evidence confusing. This is a small step, but it costs nothing and removes a common source of confusion in support tickets.
Step-by-Step Checks for WireGuard VPN
Work through these checks in order, and do not skip ahead. Each step builds on the one before it, and a failure early in the list changes how you should interpret later results. If a step fails, stop, record the failure, and work through the troubleshooting section before continuing.
Check 1: Confirm the Tunnel Connects
Connect the WireGuard tunnel and confirm that your app or system reports an active connection. Note the time, the server or endpoint you connected to, and how long the connection took to establish. WireGuard is designed to connect quickly, so a connection that takes a very long time or needs repeated attempts is worth noting, even if it eventually succeeds.
Open a website you have not visited recently and confirm that it loads through the tunnel. A single successful page load is not proof of a healthy connection, but a complete failure to load anything is a clear sign that something is wrong. If nothing loads, disconnect, check your configuration and network, and try again before moving on.
Also confirm that the tunnel stays connected for at least a few minutes of idle time. Some configurations connect briefly and then drop, which is easy to miss if you only glance at the status indicator once. Leave the tunnel up, do something else for five minutes, and then check the status again.
Check 2: Verify Your IP Address and Location
With the tunnel connected, visit the same IP checker you used for your baseline. Your public IP address should now be different from your baseline, and it should belong to the VPN server’s network rather than your own internet provider. The displayed location should match the server location you selected, allowing for the usual imprecision of location databases.
If your IP address has not changed, your traffic is not going through the tunnel, and there is no point running further checks until that is fixed. Common causes include a configuration that is not actually active, another VPN or proxy interfering, or an app that reports connected while the system route has failed. Disconnect fully, reconnect, and retest.
If the location is wrong but the IP has changed, note both values. Location databases are approximate, and a server near a border or in a large city can be reported in a neighbouring region. What matters most is that the IP is not yours and does not belong to your internet provider. A small location error is a note, not a failure; an unchanged IP is a failure.
Check 3: Test for DNS Leaks
DNS leaks happen when your device asks your internet provider’s DNS servers for website addresses even though your other traffic goes through the VPN. Those requests reveal which sites you visit, which defeats much of the privacy purpose of a VPN. A DNS leak test site shows which servers handled your requests, so you can see whether they belong to your VPN or to your provider.
With the tunnel connected, run the DNS leak test and compare the servers shown with your baseline. The servers should be those of your VPN provider or a privacy-respecting resolver it uses, not your internet provider. Run the extended or standard test the site offers, and repeat it once to rule out a one-off result.

If your provider’s DNS servers appear, the check passes. If your own provider’s servers appear, you have a leak, and you should check your configuration’s DNS setting, your operating system’s DNS settings, and whether another app is overriding DNS. Do not ignore a DNS leak because browsing still works; the connection can function perfectly while leaking the very information you wanted to protect.
Check 4: Test the Kill Switch
The kill switch is the feature that blocks your internet traffic if the VPN tunnel drops, preventing your real IP address from being exposed. Testing it means deliberately breaking the tunnel and watching what happens. This is the most important check in this guide, and the one most users skip.
With the tunnel connected, start a continuous activity you can observe, such as a download or a streaming video. Then force the tunnel to drop, for example by switching your device to aeroplane mode briefly, disconnecting and reconnecting your Wi-Fi, or stopping the WireGuard interface, depending on your setup and what your app allows. Watch whether traffic stops or continues on your real connection.
If traffic stops until the tunnel reconnects, the kill switch works. If traffic continues on your real connection, the kill switch has failed or is not enabled, and your setup should not be trusted with sensitive traffic until that is fixed.
Our detailed guide to how a VPN kill switch works explains the mechanism, and the companion kill switch test checklist gives a focused version of this test for any VPN protocol.
Repeat the drop test once, because a single pass can be luck. Also test the kill switch on each device you use, since a setting that works on a laptop may behave differently on a phone. Mobile operating systems manage background connections differently, and you should not assume that a desktop result applies to your phone.
Check 5: Test Stability During Real Use
A VPN that passes one-off checks can still be frustrating in daily use if it drops frequently or slows to a crawl at busy times. Spend at least an hour using the tunnel normally: browse, stream a video, and make a short video call if that is part of your routine. Note any drops, buffering or call quality problems, and the time each one happened.
Test at the times you actually use the internet. A tunnel that performs well at midday may struggle in the evening when networks are busy, and a tunnel that works on Wi-Fi may behave differently on mobile data. If your main use is in the evening, evening results matter more than a midday test, however good the midday numbers look.
Also try a second server if your first choice performs poorly. Server load varies, and switching to a nearby alternative is a normal part of VPN use. Record which servers you tried and how each performed, so you can return to the best one without repeating the whole process.
Check 6: Confirm IPv6 Behaviour
IPv6 is a newer internet addressing system that some networks use alongside or instead of the older IPv4 system. A VPN that only protects IPv4 traffic can leak your real IPv6 address even while your IPv4 address looks correct. This check catches that gap.
With the tunnel connected, visit an IPv6 test site and check whether an IPv6 address is shown and whose network it belongs to. If no IPv6 address appears, your setup is either blocking IPv6 or your network does not use it, and there is nothing to leak.
If an IPv6 address appears that belongs to your own provider, you have a leak to fix, either by disabling IPv6 on your device or by using a configuration that routes IPv6 through the tunnel.
Many users can skip worrying about this check if their network does not use IPv6 at all, but running the test once costs a minute and removes the uncertainty. Record the result either way, so you know the question has been answered rather than merely unasked.
Expected and Unexpected Results
An expected result is a changed IP address, VPN-operated DNS servers, blocked traffic during a tunnel drop, and stable performance during normal use. If all four appear, your WireGuard setup is doing its job, and you can use it with reasonable confidence. Keep your notes, because they are your baseline for future checks.
An unexpected result is anything else: an unchanged IP, your provider’s DNS servers, traffic that continues after a drop, or repeated disconnections. Each of these has a different meaning and a different fix, and lumping them together as “the VPN is broken” makes support harder. Name the specific check that failed, and describe exactly what you saw.
Some results are ambiguous rather than clearly pass or fail. A location that is slightly off, a single slow evening, or a DNS result that shows a third-party resolver your provider is known to use can all be normal. When you meet an ambiguous result, repeat the test, check your provider’s documentation, and record both the result and your interpretation.
Ambiguity that is written down is manageable; ambiguity that is forgotten is not.
Speed results deserve special caution. A speed test measures your whole path, including your home connection, your provider’s network and the test server, not just the VPN. A slow result does not prove the VPN is slow, and a fast result does not prove it is good.
Compare VPN and non-VPN results at the same time of day, and treat the difference as a rough guide rather than a precise measurement.
Record Reproducible Evidence
Good evidence lets someone else repeat your test and get the same result. For each check, record the date and time, the device and operating system, the app or configuration used, the server selected, the test site used, and the result in plain numbers or names.
A note that says “IP changed” is less useful than one that says “IP changed from baseline to the VPN server’s address at 8:15 pm on a Windows laptop using the Karachi server”.
Screenshots are useful supplements, but they should support written notes, not replace them. Take a screenshot of each key result, and name or caption it with the check it belongs to. If you later send evidence to support, attach the screenshots in order and refer to them by name in your message, so the support agent can follow your testing step by step.

Keep your baseline notes alongside your test notes. Support teams often ask for the without-VPN result to compare against, and having it ready saves a round of questions. Store the whole set in one place, whether that is a document, a note app or an email draft, and keep it for as long as you use that configuration.
Finally, record the limitations of your testing honestly. If you only tested on Wi-Fi, say so. If you did not test the kill switch on your phone, say so. Honest limits make your evidence more credible, not less, because they show you understand what you did and did not verify.
Troubleshooting Common Failures
If the tunnel will not connect at all, check the basics first: your internet connection without the VPN, your configuration file or app login, and whether your device’s clock is correct, since incorrect time can break authentication. Then try a different server and a different network, such as mobile data instead of Wi-Fi, to separate a configuration problem from a network problem.
If your IP does not change, check that no other VPN, proxy or browser extension is interfering, and confirm that the WireGuard interface is actually active in your system settings rather than merely showing as connected in an app. Restarting the app and reconnecting once resolves a surprising number of routing glitches, but if the problem repeats, it is a configuration fault, not a one-off.
If DNS leaks, check the DNS setting in your WireGuard configuration and your operating system’s DNS settings, and disable any browser feature that sends DNS requests outside the tunnel, such as DNS-over-HTTPS to a third-party resolver that bypasses your VPN. Retest after each change, so you know which change fixed the problem.
If the kill switch fails, first confirm that it is actually enabled in your app or system settings, since many setups leave it off by default. Then check whether your app offers a system-level kill switch rather than an app-level one, and prefer the system-level option where available.
If no kill switch is available for your setup, treat that as a limitation of the setup and avoid sensitive traffic until you have an alternative.
If performance is poor, try a different server, a different time of day, and a different network. If all servers are slow at all times, the problem may be your base connection or throttling by your internet provider, and no VPN setting will fix it. In that case, your evidence notes become valuable, because they show support that you tested systematically rather than guessing.
Surfshark and WireGuard: A Simpler Route
Manual WireGuard configurations give you control, but they also give you responsibility for every setting, including DNS, kill switch and IPv6 handling. For many users, a VPN app that manages those settings is the better choice, because the app’s defaults have been tested by the provider across many devices.
WireGuard is available as a protocol option inside several mainstream apps, so you do not have to choose between WireGuard and convenience.
Surfshark is our usual recommendation for Pakistan users who want that simpler route. Its apps include WireGuard support, a kill switch, and DNS handling out of the box, and one plan covers unlimited devices. That combination removes most of the manual configuration risks described in this guide, while still letting you run the checks above to verify that the app is working on your devices.
Surfshark — our recommended VPN for Pakistan
Simple apps, unlimited devices and strong everyday privacy at a household-friendly price.
Whether you use an app or a manual configuration, the verification steps in this guide still apply. An app’s good defaults are a reason for confidence, not a reason to skip testing, and the kill switch test in particular should be run on every device you rely on. Trust, in VPN terms, is a test result, not a brand name.
For broader background on choosing a provider, our Surfshark review covers its features and limits in full, and our kill switch explanation covers the safety feature that matters most when any tunnel drops.
Limitations of the Test
This checklist verifies behaviour, not policy. It can prove that your tunnel changes your IP, protects your DNS and blocks traffic on a drop, but it cannot prove what your provider does with data on its servers. Server-side logging, data retention and legal compliance are policy matters, and they can only be assessed from audits, transparency reports and the provider’s published policies, not from a connection test.
The checklist also cannot prove that a setup will work tomorrow. Networks change, providers block servers, and filtering systems are updated. A setup that passes today may fail next month, which is why periodic retesting matters. Re-run the core checks after app updates, after changing networks, and whenever you notice behaviour change.
Another limit is scope: these tests cover one device and one configuration at a time. A result on your laptop says nothing about your phone, and a result on Wi-Fi says nothing about mobile data. Treat each device and network as a separate test, and do not generalise a pass from one to the other.
Finally, testing cannot make an unlawful use lawful, and it cannot substitute for PTA registration where registration is required. Check the current requirements for your use case directly, and treat this guide as a technical checklist, not legal advice.
Frequently Asked Questions
How Do I Test WireGuard VPN?
Connect the tunnel, then check that your IP address changes, run a DNS leak test, deliberately drop the tunnel to test the kill switch, and use the connection normally for an hour. Record each result with the date, device, server and test site used, so the test can be repeated.
What Result Should I Expect?
You should expect a changed IP address belonging to the VPN server, DNS servers operated by your VPN provider rather than your internet provider, traffic blocked while the tunnel is down, and stable performance during normal browsing, streaming or video calls.
What Evidence Should I Send Support if the Result Differs?
Send your baseline without the VPN, the failing result with the VPN, and the details of your test: date and time, device and operating system, app or configuration used, server selected, and the test sites used. Attach screenshots in order and name the specific check that failed, rather than writing only that the VPN does not work.
How Often Should I Retest My WireGuard Setup?
Retest after app or system updates, after changing networks, and whenever you notice drops or slowdowns. A quick retest every month or two is a sensible habit, and the full checklist is worth repeating whenever you change provider, server or device.
Does a Passed Test Mean My VPN Is Fully Private?
No. A passed test proves your connection behaves correctly on your device, but it cannot prove what your provider does with data on its servers. Provider privacy depends on its policies, audits and jurisdiction, which are separate from connection behaviour.
Can I Test WireGuard on My Phone?
Yes. Use the same checks in a mobile browser: an IP checker, a DNS leak test site, and a deliberate drop test with the kill switch enabled. Test your phone separately from your laptop, because mobile operating systems handle VPN connections differently.
Surfshark — our recommended VPN for Pakistan
Simple apps, unlimited devices and strong everyday privacy at a household-friendly price.
Conclusion: A Verified Tunnel Beats an Assumed One
WireGuard’s simplicity is a genuine advantage, but it is not a substitute for verification. A few browser checks, a deliberate drop test and a page of honest notes turn an assumed setup into a verified one, and they take less than an hour. That hour is the difference between believing your VPN works and knowing it does.
Keep your notes, retest after changes, and remember the limits of what testing can prove. A verified tunnel plus a trustworthy provider is the combination to aim for, and neither half alone is enough. If your tests keep failing on a particular setup, switch to an app-based setup or a different provider rather than continuing to trust a configuration you have already shown to be unreliable.