Setting up a VPN on iPhone takes about two to three minutes when you use the official app, and Surfshark is the option we recommend for readers in Pakistan because it covers iPhone, iPad and Mac under one subscription, with 80% off for our users.
This guide explains every supported way to set up a VPN on iPhone, from the App Store app to manual IKEv2, IPSec and L2TP profiles, so you can pick the method that fits your phone and your provider.
Apple does not run its own VPN service, and iPhones do not ship with a VPN switched on. What the iPhone does include is a built-in VPN client in Settings and full support for VPN apps from the App Store. The app route handles the technical configuration for you, while the manual route is there for work, school or self-hosted servers that hand you connection details.
The method you choose decides which features you get. A provider app gives you a server list, a kill switch, split tunnelling and auto-connect on untrusted Wi-Fi. A manual profile connects you to one server, with no server picker and no in-app kill switch.
This guide covers both routes in full, explains the permissions iOS asks for, shows you how to verify the connection, and finishes with the fixes for the problems Pakistan users report most often.
How to Set Up a VPN on iPhone in Short
The fastest way to set up a VPN on iPhone is to install your provider app from the App Store, sign in, tap Connect, and tap Allow when iOS asks to add VPN configurations.
Confirm with Face ID, Touch ID or your passcode, and the VPN icon appears in the status bar to confirm the tunnel is active. The whole process usually takes two to three minutes on a phone running a supported iOS version.
- Open the App Store, search for your VPN provider by name, and check the developer name before downloading.
- Tap Get to install the app, then open it and sign in with your subscription account.
- Choose a server location, or let the app pick the fastest server for you.
- Tap Connect. iOS asks for permission to add VPN configurations. Tap Allow and confirm with Face ID, Touch ID or your passcode.
- Check the VPN icon in the status bar, then confirm your new IP address in the verification steps below.
If your provider has no iOS app, or your employer gave you server details instead of an app, you can add the connection manually in Settings. Go to General, then VPN and Device Management, then VPN, and tap Add VPN Configuration. The manual steps are covered in full later in this guide, including the details you need from your provider or administrator.
Before you start, check the iOS version on your phone. Go to Settings, then General, then About, and look for the iOS version number. Surfshark's current app requires iOS 17 or later, so an older iPhone may need a software update first, or a provider whose app still supports its iOS version. The requirements section below explains this in detail.
Which VPN Setup Methods Does iPhone Support?
iPhone supports two practical setup methods for a personal VPN, plus a built-in privacy feature that is often confused with a VPN. The provider app is the recommended route for almost everyone. Manual configuration suits work or school VPNs and self-hosted servers. iCloud Private Relay is a separate Apple feature, and it is not a VPN, so it should not be treated as one.
| Setup Method | Best For | Protocol | Difficulty |
|---|---|---|---|
| Official provider app | Most users, all features | WireGuard, OpenVPN, IKEv2 or the provider's own protocol | Easy, about 2-3 minutes |
| Manual IKEv2 profile | Work, school or self-hosted servers | IKEv2 | Moderate, about 10 minutes |
| Manual IPSec or L2TP profile | Older work or school servers | IPSec, L2TP | Moderate, needs server details |
| iCloud Private Relay | Safari privacy only, not a VPN | Not a VPN protocol | Built into iCloud+, iOS 15+ |
Only the provider app gives you the full feature set. It includes a server list with dozens of countries, a kill switch, split tunnelling, auto-connect on untrusted Wi-Fi and automatic protocol selection. The manual methods connect you to one server at a time and rely on the app-free iOS settings, which have no system-wide kill switch of their own.
A point worth stating clearly: iCloud Private Relay, available with an iCloud+ subscription on iOS 15 and later, hides your IP address in Safari, but it is not a VPN.
It does not cover other apps, it does not let you pick a server country, and it does not encrypt all device traffic. If you need full-device protection or a specific exit country, you need a VPN app or a manual VPN profile instead.
Note: Flagged: Surfshark's own documentation disagrees with itself on the iOS minimum. Its current App Store listing and recent support guides require iOS 17 or later, while an older manual-setup support page still says iOS 13 or later. This guide treats iOS 17 as the requirement for the current app, because the App Store listing is the stricter and more recent source, but the conflict is unresolved in Surfshark's own pages.
What You Need Before You Start
You need four things before any iPhone VPN setup works: a working internet connection, a VPN subscription or configuration details, a compatible iOS version, and access to the App Store or the provider's official download page. A personal VPN subscription does not give you access to a work or school network, so company VPNs need the details from your administrator instead.
- A VPN subscription with an active account, or IKEv2, IPSec or L2TP server details from your provider, employer or school.
- An iPhone running iOS 17 or later for Surfshark's current app. Other providers set their own minimums, so check the App Store listing for the app you plan to install.
- Enough free storage for the app, usually a few hundred megabytes, and an Apple ID signed in to the App Store if you use the store route.
- Your Wi-Fi or mobile data connection working normally, so the app can download and reach the VPN server on its first connection.
Check your iOS version before downloading anything. Provider apps raise their minimum iOS version over time, and the App Store will refuse to install an app that needs a newer iOS than your phone runs.
If your iPhone cannot update to the required version, look for a provider whose app still supports your iOS, or use a manual IKEv2 profile, which works on older iOS versions with the right server details.
If the provider's app is not listed in the App Store for your device, do not install a VPN profile or app from an unknown website. Only install apps from the App Store, and only install configuration profiles from your provider, employer or school.
A profile from an unknown source can route your traffic through a server you did not choose, so the source of the profile matters as much as the app you install.
Method 1: Install the Official VPN App
Installing the official app is the method we recommend for nearly every iPhone user in Pakistan. It is the quickest route, it keeps itself updated, and it unlocks the kill switch, split tunnelling and auto-connect features that manual profiles cannot offer.
The steps below use Surfshark as the example because it is our recommended provider, but the flow is the same for NordVPN, ExpressVPN, Proton VPN and most other major providers.
- Open the App Store on your iPhone and search for Surfshark, or follow the official download link from the provider's website.
- Check the developer name on the listing. For Surfshark it should read Surfshark Ltd. A lookalike name is a warning sign.
- Tap Get to download and install the app, then tap Open.
- Sign in with your Surfshark account, or create an account and choose a plan if you do not have one yet.
- Choose a server location from the list, or tap the quick-connect option to use the fastest server.
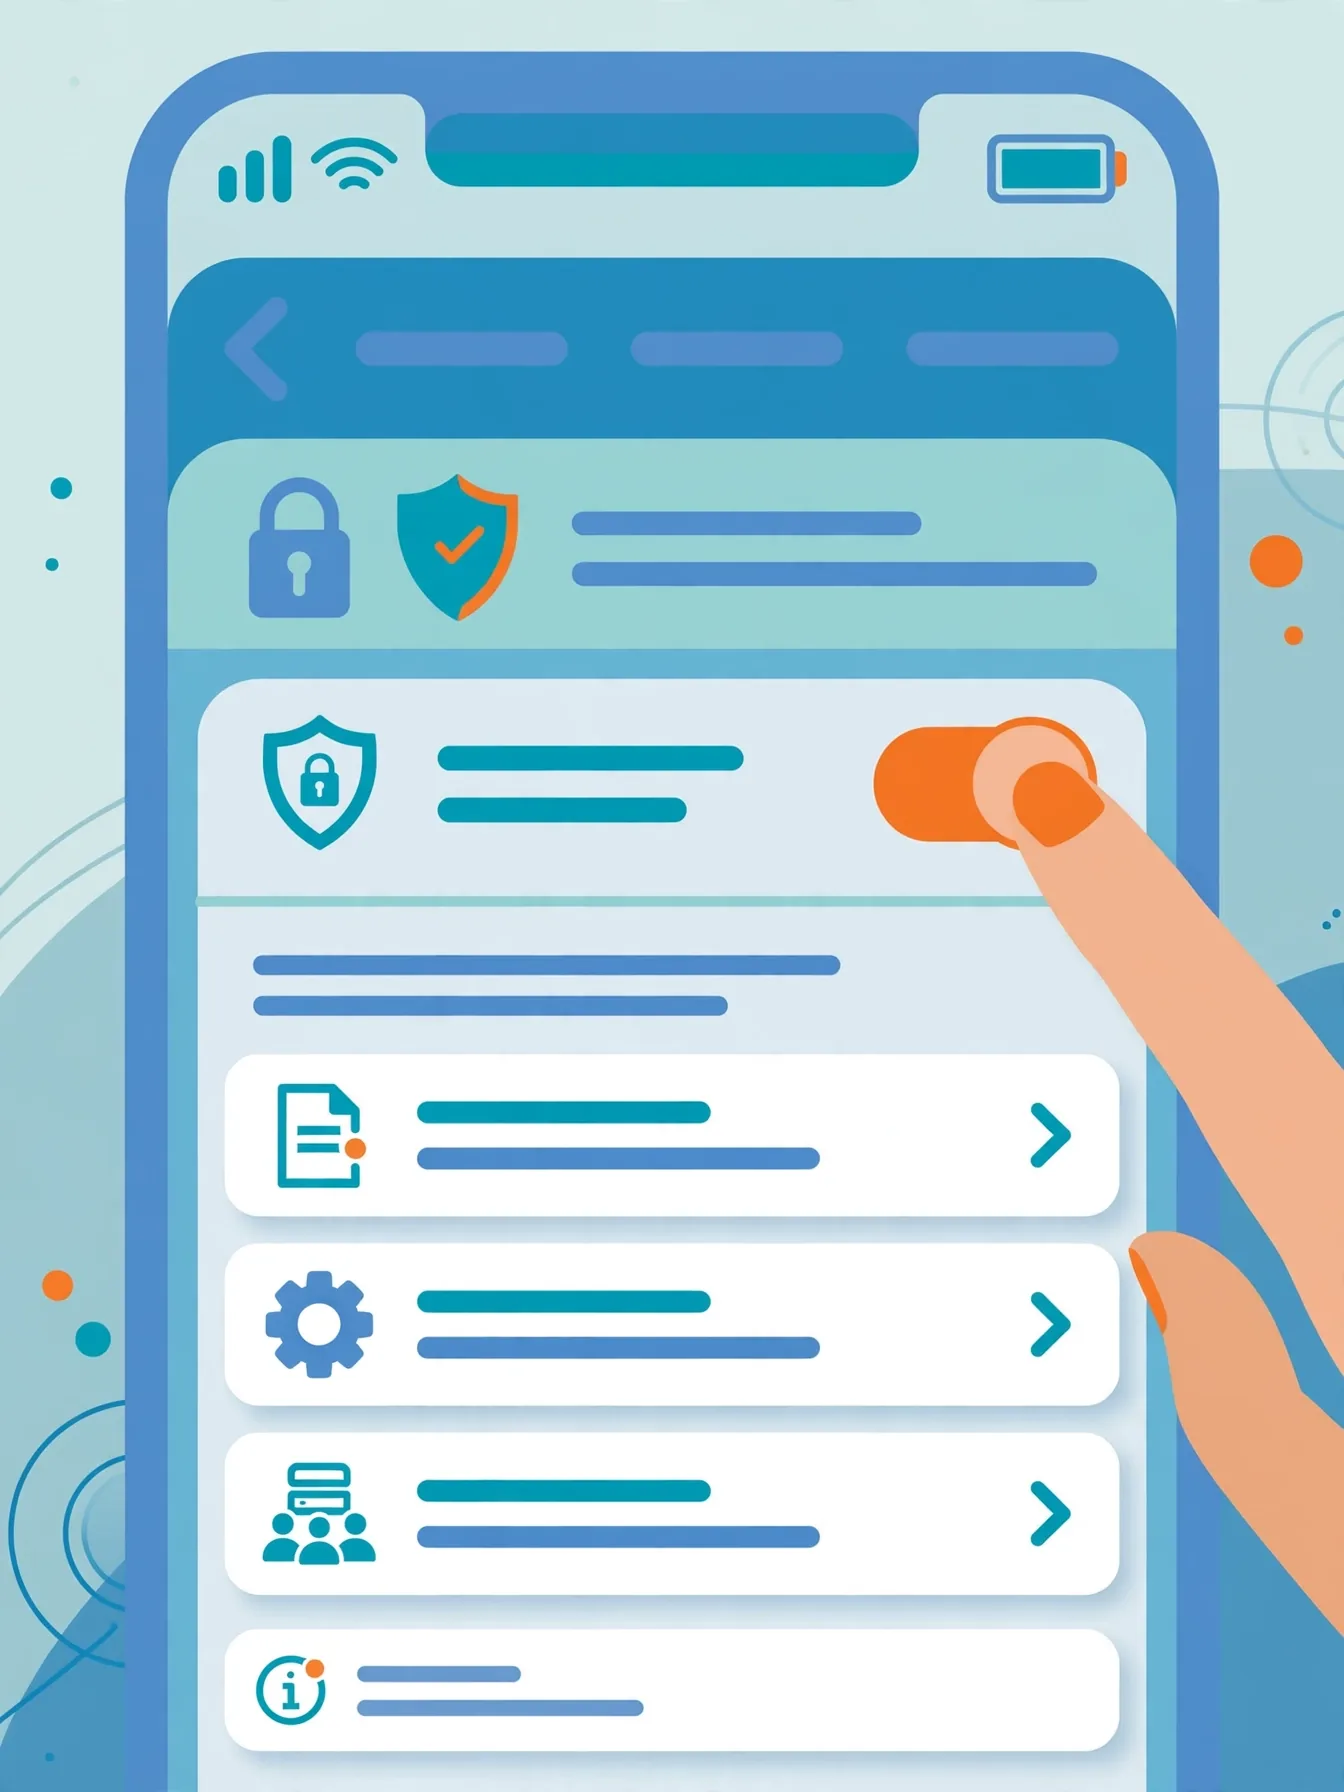
- Tap Connect. iOS shows a prompt asking to add VPN configurations. Tap Allow and confirm with Face ID, Touch ID or your passcode.
- Look for the VPN icon in the status bar. It confirms the VPN tunnel is active.
The permission prompt is an iOS system prompt, not an in-app popup. It reads that the app would like to add VPN configurations, and it names the app making the request. Approve it only for the app you just installed. If a different app ever asks to add VPN configurations unexpectedly, decline it and remove that app, because a VPN configuration lets an app route your traffic.
Once connected, open the app settings and switch on the features that protect you between connections. Turn on the kill switch so the app reconnects you if the tunnel drops, and turn on auto-connect for untrusted Wi-Fi if your app offers it. Surfshark's iOS app includes a kill switch toggle in its VPN settings, and it uses WireGuard by default, with OpenVPN and IKEv2 available as protocol choices.
Why Surfshark Works Well on iPhone
Surfshark is our recommended VPN for Pakistan because it fits the way iPhone users actually use a VPN. One subscription allows unlimited simultaneous devices, so the same account covers your iPhone, your iPad, your Mac and your family's phones without extra cost. The iOS app supports WireGuard for fast connections, includes a kill switch and split tunnelling, and works on iOS 17 and newer through the App Store.
For readers in Pakistan, the practical advantage is choice of exit location. Surfshark lists servers in more than 100 countries, so you can pick a nearby server for speed or a specific country when a service needs it. If you want the full price breakdown before subscribing, our guide to Surfshark pricing in Pakistan explains the monthly and long-term plans and what each one includes.
Device limits are worth comparing if you share one subscription across a household. Surfshark allows unlimited devices, NordVPN allows 10, and ExpressVPN allows 10 on its Basic plan, 12 on Advanced and 14 on Pro. If you want the full price breakdown for the main alternative, our guide to NordVPN pricing in Pakistan covers its plans and what each one costs.
You can try the service before committing. Surfshark offers a seven-day free trial on iOS for its 12- and 24-month plans, and purchases made on its website carry a 30-day money-back guarantee.
Trial availability and refund terms can change, and buying through the App Store means refunds go through Apple rather than the provider, so confirm the current offer before you pay. Our separate guide to Surfshark's free plan and trial options explains what is actually free and what is a trial.
Surfshark — our recommended VPN for Pakistan
One subscription covers every iPhone, iPad and Mac in your home, with unlimited devices.
If you already have a subscription with another provider, the same steps apply. Install that provider's official app, sign in, and connect. The rest of this guide still applies to you, including the iOS settings in the sections below, which work the same way whichever app you use.
Method 2: Manual IKEv2 Configuration
IKEv2 is the manual protocol Apple supports best on iPhone, and it is the right choice when your provider, employer or school gives you IKEv2 server details. You do not need to install anything for this method. You type the server address and credentials into iOS settings, save the configuration, and connect from the same screen or from the VPN toggle in Settings.
- Open Settings, then go to General, then VPN and Device Management, then VPN.
- Tap Add VPN Configuration.
- Choose IKEv2 as the type.
- Enter a description, the server address and the remote ID, usually the same as the server address, exactly as your provider gave them.
- Enter your username and password, or the certificate details if your setup uses them.
- Tap Done to save the configuration, then toggle the VPN on from the VPN screen or the main Settings screen.
- Enter your credentials again if iOS asks, and check the VPN icon in the status bar.
A manual IKEv2 configuration connects you to one server only. To change countries, you need a separate configuration for each server, and you switch between them in the VPN settings screen. That is the main trade-off against a provider app, which lets you pick any country from a list inside one app.
IKEv2 is a good fit for manual setup because it reconnects quickly when you move between Wi-Fi and mobile data, which is exactly what a phone does all day. It is also the protocol Apple's own documentation lists first for manual setup. If your provider offers both IKEv2 and OpenVPN manual profiles, IKEv2 is usually the simpler choice on iPhone.
Keep your server details private. A manual configuration contains the server address and your account credentials, and anyone with a copy can use your connection. Get the details only from your provider's official site or account page, or from your employer's IT department, and delete any message or file containing them once the profile is saved.
Method 3: Manual IPSec and L2TP Configuration
IPSec and L2TP are older manual protocols that iOS still supports, and they are mainly used by work and school networks that have not moved to IKEv2. The setup follows the same path as IKEv2, with different fields to fill in. Consumer VPN providers rarely recommend these protocols now, because their apps offer WireGuard or IKEv2 instead, but an employer may still hand you L2TP details.
- Open Settings, then go to General, then VPN and Device Management, then VPN.
- Tap Add VPN Configuration and choose IPSec or L2TP as the type.
- Enter a description, the server address and your account name, exactly as your administrator gave them.
- Enter your password and the shared secret or secret key for L2TP, if your setup uses one.
- Tap Done to save the configuration, then toggle the VPN on from the VPN screen.
- Check the VPN icon in the status bar to confirm the tunnel is active.
L2TP on its own does not encrypt traffic, so it is always paired with IPSec on iPhone, and the shared secret is part of that protection. If your instructions mention L2TP without a secret, ask your administrator for the missing detail rather than guessing. A profile with the wrong secret will fail to connect, and the error message will not always explain why.
These older protocols are slower and less reliable on mobile connections than IKEv2 or WireGuard, and they can struggle when you switch between Wi-Fi and mobile data. If you have a choice, prefer the provider app or an IKEv2 profile. Use IPSec or L2TP only when the network you need to reach requires it, and ask your administrator whether an IKEv2 option exists.
Our guide to OpenVPN explains the modern protocol choices in more detail, including where OpenVPN fits and when WireGuard is the better pick. On iPhone, OpenVPN is only available through a provider app or a third-party OpenVPN client, not through the built-in manual configuration screen, which is another reason the app route is simpler for personal use.
iPhone VPN Permissions Explained
iOS asks for one key permission during VPN setup, and it is worth knowing what it does. When you first tap Connect in a VPN app, iOS asks whether the app may add VPN configurations.
Approving it lets the app create the tunnel and route your traffic. iOS asks once per app, and you confirm with Face ID, Touch ID or your passcode, which stops another app from silently adding a profile.
- Add VPN Configurations: the one-time system prompt that lets the app build its tunnel. Approve it only for the VPN app you installed on purpose.
- Notifications: the app uses these to show connection status. Allow them if you want a visible indicator that the VPN is on.
- Local network access: some apps ask for this to detect trusted networks for auto-connect. It is optional and not needed for the tunnel itself.
- Location: a VPN app does not need your location to protect your connection. If an app asks for it, check why before allowing it.
A VPN app should not ask for contacts, camera, microphone or photo access to do its job. If an app requests those permissions during setup, treat it as a warning sign and check whether you downloaded the genuine app. A legitimate provider app needs the VPN configuration permission and network access, and little else, to protect your connection.
iOS also shows a VPN icon in the status bar while a VPN is active. That icon is a security feature, not decoration. It tells you at a glance that a VPN is running, and opening Settings shows which profile or app is connected. If the icon disappears while you expected the VPN to be on, the tunnel has dropped, and you should reconnect before doing anything sensitive.
Kill Switch and Auto-Connect on iOS
iOS has no system-wide kill switch setting, so kill-switch protection on iPhone lives inside the VPN app itself. Surfshark, NordVPN and ExpressVPN all include a kill switch toggle in their iOS apps, and you should switch it on after your first connection. The setting is usually under VPN settings in the app, and it stays on until you change it.
There is a platform limit worth knowing. On iOS, a VPN app's kill switch works by reconnecting you automatically when the tunnel drops, rather than by blocking all internet traffic outright, so brief leaks can happen while it reconnects. This is a limitation of iOS itself, not of any one provider, and it applies to Surfshark, NordVPN and ExpressVPN alike.
Note: Flagged: the iOS kill-switch limitation described above comes from provider comparison material, not from Apple's own documentation. We present it as reported behaviour because Apple does not document a system-wide kill switch for iOS, and the exact behaviour may vary by app version.
Auto-connect is the companion setting. Most provider apps can connect automatically when you join an untrusted Wi-Fi network, such as a cafe or airport hotspot. Turn it on in the app settings, and check that it works by joining a new network and watching for the VPN icon. If the app does not offer auto-connect, get into the habit of opening the app and connecting before you use public Wi-Fi.
Check both settings after every app update, because updates occasionally reset in-app preferences. The VPN configuration itself survives updates, but toggles such as the kill switch and auto-connect are worth confirming, especially after a major iOS update that changes how the app interacts with the system.

How to Verify the VPN Connection on iPhone
Connecting is not the same as being protected, so verify the tunnel every time you set up a VPN on a new phone or change servers.
Verification takes about a minute and catches the common failures: a connection that looks active but leaks your real IP, a DNS leak that exposes the sites you visit, and a location mismatch where the exit IP is in a different country than the one you picked.
- Check the VPN icon in the status bar. It should be visible while the tunnel is up.
- Open Safari and search for what is my IP, then note the address and the country it reports.
- Compare that address with your real IP, which you can check by disconnecting the VPN and repeating the search. They should be different.
- Run a DNS leak test from a leak-testing site and confirm the DNS servers belong to your VPN provider or the country you selected.
- Open a map or location-aware site and check that it sees the VPN country, not Pakistan, while remembering that a VPN changes your IP address, not your GPS position.
If the IP address does not change, the tunnel is not carrying your traffic. Disconnect, reconnect, and try a different server. If the country is wrong, you may have connected to the wrong server, or the provider may be routing that location through a server in a different country.
Some providers use virtual locations, where the listed country differs from the physical server country, and the IP check will show the physical location.
A VPN changes your exit IP address, but it does not change your device GPS. Apps that read GPS, such as maps and ride-hailing apps, will still see your real position in Pakistan.
That is expected behaviour, not a leak, and it is a distinction worth remembering when a location check seems wrong. Safari location is a separate setting, and sites that ask for it will use GPS or Wi-Fi positioning unless you deny the request.
How to Remove a VPN Profile on iPhone
Removing a VPN profile is straightforward, but deleting the app alone is not always enough. Deleting a VPN app does not remove its profile or cancel its subscription, so you need to do all three steps when you stop using a VPN: remove the profile, delete the app, and cancel the subscription separately.
- Open Settings, then go to General, then VPN and Device Management, then VPN.
- Tap the information icon next to the profile you want to remove, then tap Delete VPN and confirm.
- If you used a provider app, delete the app as well, from the home screen or the App Library.
- If you used a manual profile, check that no other configurations remain in the same VPN screen.
- Cancel the subscription separately, either on the provider's website or in your Apple Account settings under Subscriptions.
Cancelling matters because deleting the app does not cancel a subscription. A plan bought through the App Store keeps renewing until you cancel it in your Apple Account settings. A plan bought on the provider's website must be cancelled there. Check both places if you are unsure where you subscribed, so you do not keep paying for a service you removed.
If a profile refuses to delete, it may be a device-management profile installed by your employer or school, and only your administrator can remove it. Personal profiles you created yourself should delete cleanly from the VPN screen. A profile that reappears after deletion usually means the app is still installed and recreating it, so delete the app first and then remove the profile.
Troubleshooting Common iPhone VPN Problems
Most iPhone VPN problems have a short list of causes, and working through them in order solves nearly all of them. Start with the simplest checks, such as switching servers and restarting the app, before changing settings or reinstalling. The table below covers the failures Pakistan users report most often, with the fix that usually works first.
| Problem | Likely Cause | Fix to Try First |
|---|---|---|
| VPN will not connect | Server busy, or app needs an update | Try another server location, then update the app |
| Permission prompt never appears | Profile already exists, or iOS restriction | Check VPN settings and remove old profiles |
| Connected but IP does not change | Traffic bypassing the tunnel | Check split tunnelling and reconnect |
| No internet while VPN is on | Server issue, or kill switch active | Switch servers, then check the kill switch setting |
| App not in the App Store | Device or region listing issue | Use the provider's official download page link |
| Slow speeds | Distant server or congested network | Connect to the nearest server and try WireGuard |
If the VPN connects but websites will not load, the problem is often DNS. Try switching the protocol in the app settings, for example from WireGuard to IKEv2, and then reconnect. If that fails, restart the iPhone and connect again. A restart clears stale network states that survive an app restart, and it is worth trying before you reinstall anything.
When the app itself will not install, check your iOS version against the app's minimum requirement first. Surfshark's current app needs iOS 17 or later, and older iPhones may need a software update before the App Store will install it. If your iPhone cannot update that far, look for a provider whose app still supports your iOS version, or use a manual IKEv2 profile instead.
For problems that survive these steps, the provider's support team is the next stop, and live chat is usually faster than email. Before you contact them, note your iOS version, the app version, the server you tried, and the exact error message. That information lets support help you in one conversation instead of several, and it is the same detail they will ask for first.
iPhone VPN Setup for Pakistan Users
Readers in Pakistan face two extra questions that most global guides skip: whether the provider's app is available to download, and what the local rules say about VPN use.
The App Store lists the major VPN apps in Pakistan, and the providers in this guide all offer iOS apps that install normally. If a listing is ever unavailable, use the download link on the provider's official website, which points back to the genuine App Store listing.
Pakistan's telecom regulator, the PTA, has run VPN registration programmes for commercial and business users, and the rules have changed more than once.
This guide does not give legal advice, and the current requirements are worth checking on the PTA's own channels before you rely on a VPN for business use. For personal use, the practical point is simple: use a reputable provider, keep the app updated, and keep your subscription in your own name.
Network conditions in Pakistan also affect which server to pick. A server in a nearby region, such as Singapore or the United Arab Emirates, usually gives better speeds from Pakistan than a server in Europe or North America.
Try the app's fastest-server option first, then test one or two nearby countries yourself. Speeds vary by time of day and by your mobile or broadband provider, so a quick comparison on your own connection beats any published ranking.
Payment is the last practical question. Most providers accept cards and PayPal, and some accept other methods, but availability varies by country and can change. Buying through the App Store means the purchase and any refund go through Apple, while buying on the provider's website means the provider's own 30-day money-back guarantee applies.
Do not share card details with any third party claiming to sell discounted VPN accounts, because those accounts are often resold or stolen and can disappear without warning.
Surfshark — our recommended VPN for Pakistan
Set it up once on iPhone and the same account protects your other devices too.
Conclusion
Setting up a VPN on iPhone is a short job once you pick the right method. For most readers, the official app is the answer: install it from the App Store, sign in, tap Connect, tap Allow on the configuration prompt, and switch on the kill switch and auto-connect in the app settings.
Manual IKEv2, IPSec and L2TP profiles cover the cases where an app is not available or not wanted.
The steps that protect you are the ones after the first connection. Verify your new IP address and DNS, confirm the VPN icon is visible in the status bar, and remove old profiles when you stop using them. Do those checks once, and the VPN will quietly do its job every time you pick up your phone.
If you want a provider that covers iPhone well, Surfshark is our recommendation for Pakistan, with 80% off for our users, unlimited devices on one subscription, and apps for iPhone, iPad and Mac. Install it from the App Store, follow the steps in this guide, and verify the connection before you rely on it.
Frequently Asked Questions
Which VPN Setup Methods Does iPhone Support?
iPhone supports two methods: an official VPN app from the App Store, and manual configuration in Settings under General, then VPN and Device Management, using IKEv2, IPSec or L2TP. The app is the easiest and most complete method. iCloud Private Relay is not a VPN and does not replace a VPN app.
Which App or OS Version Requirements Matter?
Surfshark's current App Store listing and support guides require iOS 17 or later, while an older Surfshark manual-setup support page still lists iOS 13 or later. Treat iOS 17 as the requirement for the current app, and check the App Store listing for your provider's exact minimum before installing.
How Do I Verify the Connection on iPhone?
Look for the VPN icon in the status bar, then check your IP address in Safari and confirm it differs from your real IP and shows the country you selected. Run a DNS leak test to confirm your DNS requests go through the VPN. A VPN changes your exit IP address, not your GPS position.