If you want to watch privately on the big screen, Surfshark is the VPN we recommend for Android TV in Pakistan, with 80% off for our users — and this guide walks you through every supported setup method, from a one-tap app install to a router configuration, so you can pick the route that fits your TV.
Android TV is one of the easiest smart TV platforms to protect, because it runs on Android and gives you the Google Play Store. Most major VPNs publish a native TV app there, so setup usually takes a few minutes with a remote control and no typing. The exceptions are older TVs, TVs without the Play Store, and providers with no TV app at all.
This guide answers the main question first, then compares the four supported methods, explains the permissions Android asks for, and shows how to verify that your exit IP has actually changed. It also covers what to do when no native client is supported, and how to remove a VPN profile cleanly if you change provider.
Everything here is based on official provider documentation and the Google Play listings checked in November 2026. Where a claim could not be confirmed against a primary source, the article says so directly, because a setup guide that invents a feature is worse than one that admits a gap.
The Short Answer: How to Set Up a VPN on Android TV
The fastest way to set up a VPN on Android TV is to open the Google Play Store on your TV, search for your VPN, install the official app, sign in, approve the connection request, and tap Connect. Surfshark, NordVPN and ExpressVPN all publish native Android TV apps, so most readers in Pakistan can finish in under five minutes.
If your TV has no Play Store app or your provider has no TV app, sideload the provider’s official APK from its own download page, or configure the VPN on your router so the whole home network is protected. Android’s built-in VPN settings are a third fallback, but they only support IKEv2/IPSec and L2TP/IPSec, not OpenVPN or WireGuard.
Start with the native app whenever it is available, because it updates itself, handles permissions for you and gives you a remote-friendly interface. Only move to sideloading or manual configuration when the store route is genuinely unavailable on your device, and verify the connection afterwards in every case.
| Method | What You Need | Best For | Difficulty |
|---|---|---|---|
| Native app from Google Play | Android 7.0 or newer, Play Store | Most readers, fastest setup | Easy |
| Sideload official APK | APK from provider, USB drive | Older TVs, no Play Store | Medium |
| Built-in VPN settings | Server address and login details | Work VPNs, manual providers | Medium |
| OpenVPN client app | OVPN file from provider | Providers with OpenVPN configs | Medium |
| Router setup | VPN-compatible router | TVs with no VPN app | Hard |
Which VPN Setup Methods Does Android TV Support?
Android TV supports four setup methods, and the right one depends on your TV model, your Android version and your provider. A native app is the simplest route and the only one most readers need. The other three exist for older hardware, providers without a TV app, and TVs that cannot run VPN software at all.
The native app route covers Sony, TCL, Hisense, Philips, Xiaomi and Sharp TVs, plus Chromecast with Google TV and Nvidia Shield TV. Surfshark, NordVPN and ExpressVPN all publish TV apps in the Play Store, and the apps are built for a remote control, with large buttons and simple menus that need no mouse or keyboard.
Sideloading is the fallback when the Play Store cannot help, either because the store is missing or because your Android version is too old for the store app. Surfshark documents an official APK for Android 6.0 TVs, and ExpressVPN documents sideloading for TVs where the Play Store download is unavailable.
Router setup is the most powerful option, since it protects every device on your network, including TVs that cannot run a VPN at all. It is also the most demanding, because it needs a compatible router and manual configuration, and most app features such as a kill switch do not apply at router level.
The built-in VPN settings and third-party OpenVPN clients sit in the middle. They need manual details from your provider, they offer no server list to browse, and they lack the polish of a native app, but they work on almost any Android TV and cost nothing extra beyond your subscription.
Before You Start: What You Need for Android TV VPN Setup
You need an Android TV or Google TV device, a working internet connection, a Google account signed in on the TV for the Play Store, and an active VPN subscription. A free plan can work for testing, but most free plans limit server choice and streaming, so a paid subscription is the realistic starting point for daily use.
Check your Android version first, because it decides which methods are open to you. Go to Settings, then Device Preferences, then About, and look at the Android OS version. Surfshark needs Android 7.0 or later for its Play Store app, while ExpressVPN lists Android 5.0 or newer, so the minimum version depends on the provider you choose.
Also decide which country you want to exit from before you connect. For most readers in Pakistan, the nearest server gives the best speed, while a specific country is needed only when a service or website requires that location. You can change the location later, so do not spend long on this choice.
- An Android TV or Google TV device with the Google Play Store, or a USB drive for sideloading.
- A Google account signed in on the TV, so the Play Store can install apps.
- An active VPN subscription with the login details or activation code ready.
- A stable Wi-Fi connection, since Surfshark does not support Ethernet on Android 9 and 12.
- Five spare minutes and a note of your real IP address for the verification checks.
Method 1: Install a Native VPN App From Google Play
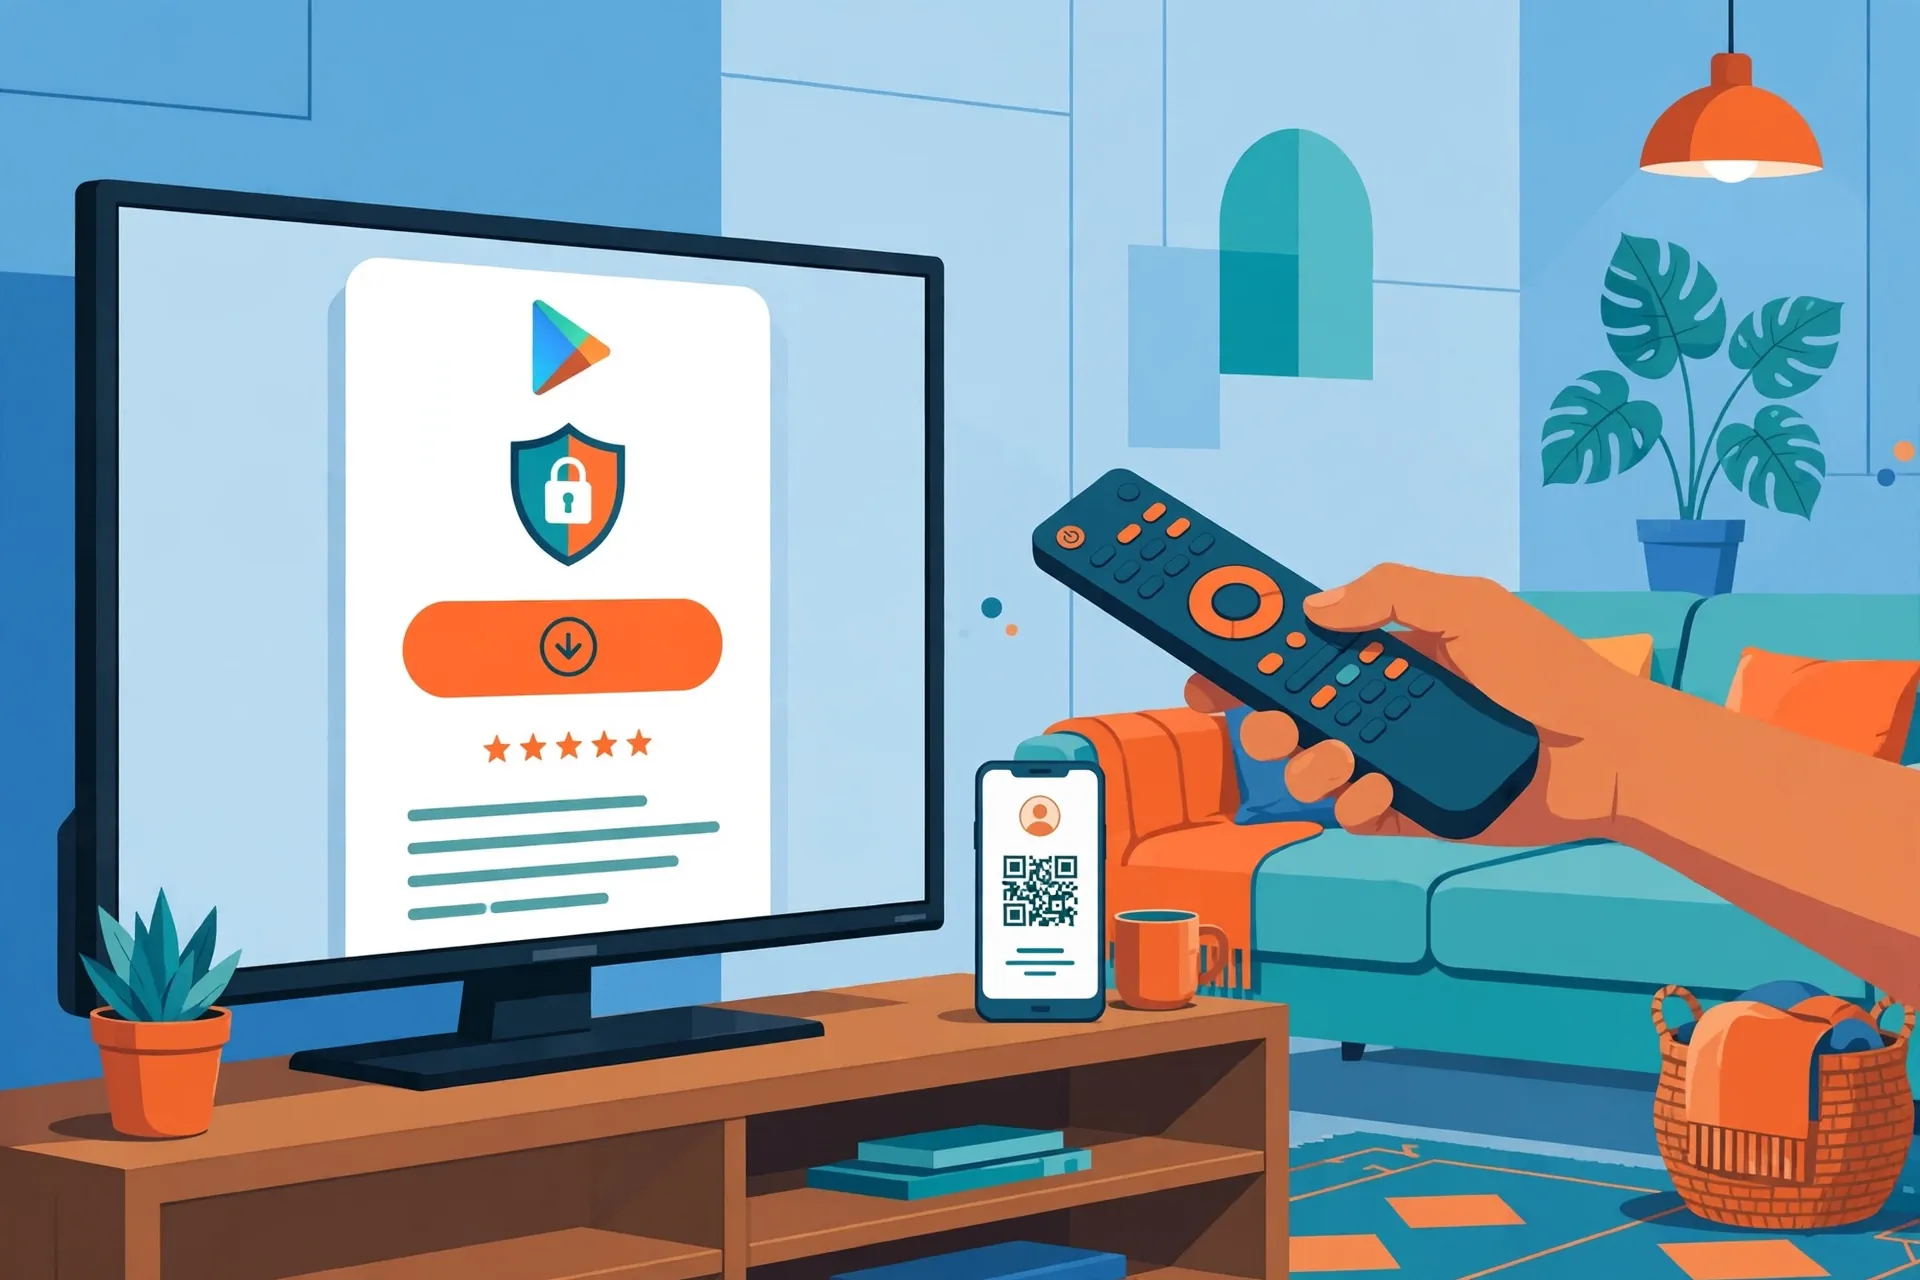
The Play Store route is the method the providers themselves recommend, and it is the core of this Android TV VPN setup tutorial. The app is built for a remote control, updates itself automatically, and handles the system permission for you. If your TV has the Play Store, start here and ignore the other methods.
- Open the Google Play Store on your Android TV, or the Apps tab and Search on Google TV.
- Search for your VPN by name and open the official listing published by the provider.
- Select Install and wait for the download to finish on the TV.
- Open the app and sign in with your account, QR code or activation code.
- Approve the VPN connection request when Android shows it for the first time.
- Tap Quick Connect or pick a server location, then wait for the Connected status.
- Open a streaming app and confirm it loads while the VPN is connected.
Sign-in on a TV is handled differently from a phone, because typing a long password with a remote is painful. NordVPN shows a QR code you scan with your phone, or a code you confirm on your computer. ExpressVPN uses an activation code from your account dashboard, while Surfshark lets you sign in with your account email and password.
When the app asks to set up a VPN connection, approve it. Android shows a connection request the first time any VPN app runs, and the VPN cannot work until you accept it. This is a system permission, not a marketing prompt, and every legitimate VPN app on Android TV asks for it.
If the app does not appear in Play Store search results, your TV may be running an Android version below the app’s minimum, or the app may not be offered in your region. Check the version in Settings first, then try the APK route in the sideloading section below instead of installing a lookalike app.
Surfshark on Android TV: Setup, Settings and Kill Switch
Surfshark is our recommended VPN for Android TV in Pakistan, because its native TV app is built for the big screen, it covers unlimited devices on one subscription, and it includes a kill switch and auto-connect on the TV itself. The Play Store listing confirms Android TV support, and Surfshark’s own support pages document the setup step by step.
The Play Store version needs Android 7.0 or newer. If your TV runs Android 6.0, Surfshark offers an official APK you can install manually, and the same file works on Android phones and Android TV. Surfshark’s support page also warns that the app does not support Ethernet connections on Android TVs running Android 9 and 12, so use Wi-Fi on those versions.
Once installed, open Settings inside the Surfshark app to find auto connect, Bypasser, the ad blocker, kill switch and protocol choice. Auto connect joins your chosen location whenever the TV goes online, so the VPN is already running before you open a streaming app. Set the auto-connect location first, then turn the feature on.
The kill switch blocks all internet traffic if the VPN connection drops unexpectedly, so your real IP address is never exposed by a failed tunnel. Surfshark documents the kill switch in its Android TV settings guide, and independent guides report that it works on Android TV where many TV kill switches do not. Turn it on in Settings, then VPN Settings.
For protocols, Surfshark’s TV app offers WireGuard, OpenVPN and IKEv2, plus an Automatic option that picks for you. WireGuard is the usual pick for streaming, because it connects quickly and recovers well when Wi-Fi drops, while OpenVPN is the fallback when a network blocks newer protocols. Leave it on Automatic unless you have a reason to change it.
For the full cost breakdown in rupees, see our Surfshark pricing guide for Pakistan. One subscription covers every TV, phone and laptop in your home, so there is no extra charge for adding the TV to an account you already use.
Surfshark — our recommended VPN for Pakistan
One subscription covers every TV, phone and laptop in your home, and the same account works on Android TV, Windows, Android, iPhone and macOS.
NordVPN and ExpressVPN on Android TV
NordVPN’s Android TV app is the same app as its phone version, with a remote-friendly layout, and the Play Store listing describes it as a VPN for Android smartphones, tablets and TVs. It supports up to 10 devices, offers NordLynx, NordWhisper and OpenVPN protocols on the TV, and includes split tunnelling, Threat Protection and Meshnet, which lets you reach your home TV while travelling.
ExpressVPN also publishes a native Android TV app, and its own download page states that it works with major brands including Sony, TCL, Hisense, Philips, Sharp and Xiaomi, plus Chromecast with Google TV, Fire TV Stick and Nvidia Shield. ExpressVPN lists Android 5.0 or newer as its requirement, though its setup tutorial describes steps for Android 7.0 and above, so older TVs may need the APK route.
ExpressVPN signs you in with an activation code rather than a password, which suits a remote control. Its Lightway protocol is designed to reconnect quickly when Wi-Fi changes or drops, and the app offers Smart Location, which picks the fastest server for you. One subscription covers up to 14 devices at the same time.
For NordVPN’s prices in rupees, see our NordVPN pricing guide for Pakistan. Both providers offer a 30-day money-back guarantee, so you can test the TV app from your own connection in Pakistan and change provider if the app disappoints.
Flagged: an earlier note in our files said Proton VPN had no native Fire TV app. That is no longer correct. Proton VPN publishes a native Fire TV app in the Amazon Appstore for Fire OS 7 and later, and released a separate native app for Amazon’s Vega OS in September 2026.
Its Android TV app requires Android 8, according to secondary coverage, so confirm the requirement on Proton’s own download page for your model.
Proton VPN is worth a mention here because its free plan can protect one TV connection with unlimited data, though it chooses the location for you and does not include supported streaming access. A paid plan lets you choose a country and use Plus servers, so the free plan is a test drive, not a daily streaming setup.
Method 2: Sideload the Official APK on Android TV
Sideloading means installing the VPN app from an APK file instead of the Play Store. You need it when the Play Store is missing from your TV, when the app is not offered for your Android version, or when your provider only distributes the TV app as an APK. Surfshark documents this route for Android 6.0 TVs, and ExpressVPN documents it for TVs where the Play Store download is unavailable.
- On a computer, open the provider’s official download or setup page and download the Android TV APK.
- Copy the APK file onto a USB drive and plug the drive into the TV.
- On the TV, allow installation from unknown sources when the system asks for it.
- Open a file manager app on the TV, find the APK on the USB drive and select Install.
- Open the VPN app, sign in, approve the connection request and tap Connect.
- Check the provider’s download page every few months, since sideloaded apps do not update themselves.
Only ever download the APK from the provider’s own website or setup page. ExpressVPN states plainly that it does not recommend downloading its APK from third-party sources, and the same warning applies to every provider. Modified or cracked APKs from download sites can contain malware, and they never receive automatic updates.
Sideloaded apps do not update themselves, so check the provider’s download page after a few months and install the newer APK when one appears. An outdated VPN app can lose servers, miss security fixes, or stop connecting entirely, and the Play Store will not warn you about it.
Some TVs block unknown-source installs by default, and the setting can be buried under Apps, then Security and Restrictions, or under a per-app permission. If your TV refuses the install, check the manufacturer’s support page for the exact menu path, because Android TV makers rename these menus.
A practical tip is to keep the APK on the USB drive after installing it, so you can reinstall quickly if a TV reset wipes the app. Note the version number and date as well, because that tells you at a glance whether the installed app is months behind the provider’s current release.
Method 3: Android TV VPN Configuration Without an App
If your provider has no TV app and no APK, Android’s built-in VPN settings are the next option. Most Android devices from version 4.0 onward include a built-in VPN client, but it only supports IKEv2/IPSec and sometimes L2TP/IPSec. Newer protocols such as OpenVPN and WireGuard are not supported by the built-in client and need a separate app.
- Open Settings on the TV, then Network and Internet, then VPN.
- Tap Add or the plus sign to create a new VPN profile.
- Enter the profile name, VPN type, server address and login details from your provider.
- Tap Save, then tap the profile name and tap Connect.
- Enter your username and password if the TV asks for them.
You need the server address, VPN type and login details from your provider or administrator before you start, because the built-in client cannot guess them. Consumer VPNs rarely publish these details prominently, since they expect you to use their app, so check your provider’s manual setup pages or support team first.
For OpenVPN, install OpenVPN Connect from the Play Store and import the .ovpn configuration file your provider supplies. Proton VPN documents this route for Android, including downloading country or server configuration files from its account page and entering your OpenVPN credentials when you connect. Our guide on OpenVPN explained covers how the protocol works.
The built-in route has real limits. There is no kill switch in Android’s own VPN screen, no server list to browse, and no automatic reconnection, so you manage the connection by hand. Use it as a fallback for a work VPN or a provider that supplies manual details, not as your first choice for streaming.
Menu names also vary between TV makers, so the VPN option may sit under Connections, More Connection Settings, or Advanced on your model. If you cannot find it, use the search bar inside Settings and type VPN, which jumps straight to the right screen on most Android TV versions.
Method 4: Set Up the VPN on Your Router
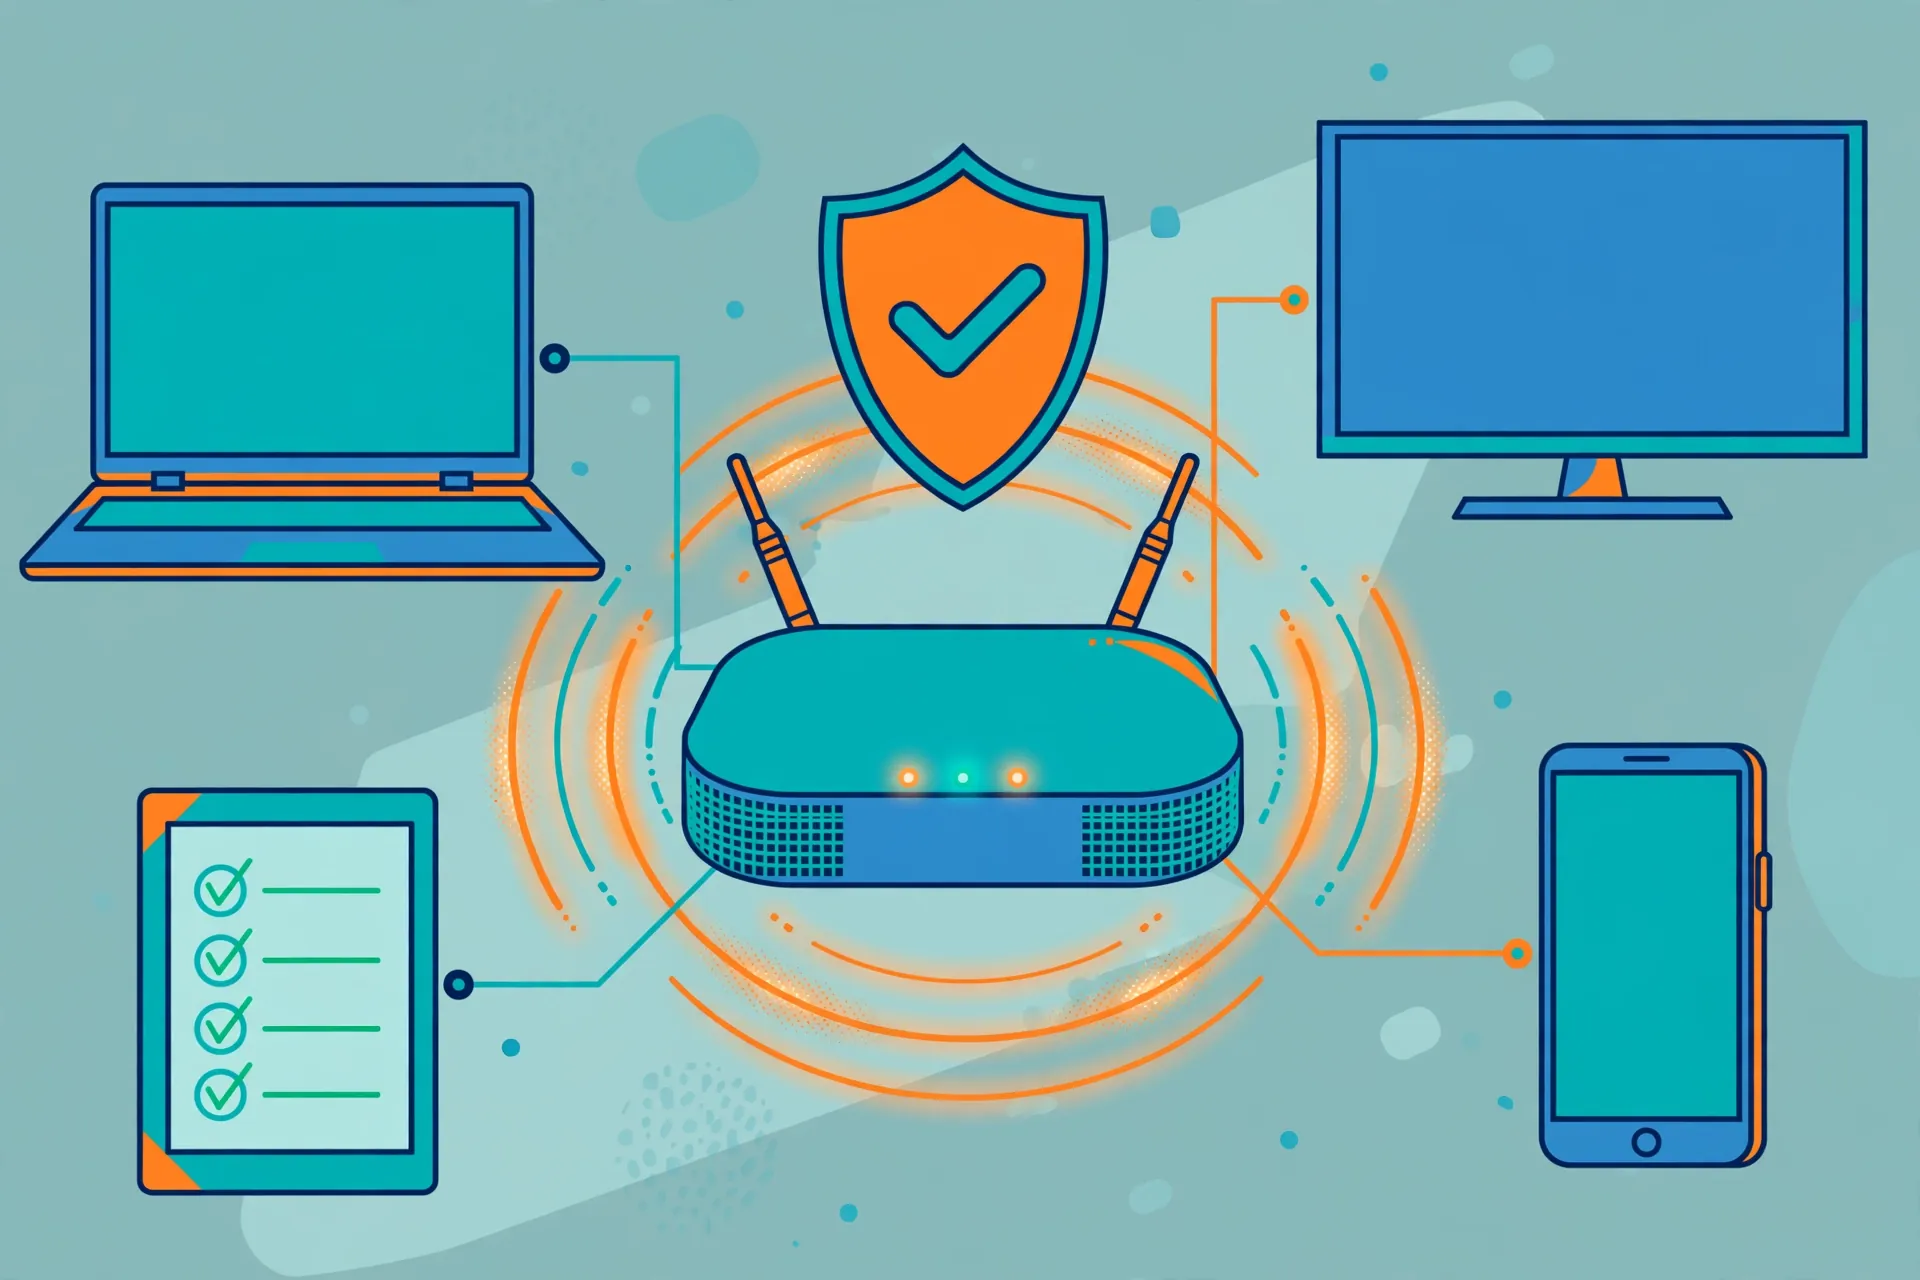
A router setup protects every device on your home network at once, including TVs that cannot run a VPN app, such as Samsung TVs on Tizen and Roku TVs, which have no native VPN support. Once the router is configured, the TV simply connects to your Wi-Fi as normal, and its traffic already passes through the VPN.
You need a router that supports VPN client mode, such as models running DD-WRT, OpenWrt, Asuswrt or the manufacturer’s own VPN client. Surfshark, NordVPN and ExpressVPN all publish router setup guides with configuration files for their services, so download the files for your chosen server before you open the router admin page.
- Confirm your router supports a VPN client and note its admin page address.
- Download the VPN configuration files for your chosen server from the provider.
- Log in to the router admin page from a computer on the same network.
- Import the configuration file and enter your VPN username and password.
- Connect the router to the VPN and confirm the status shows connected.
- Reconnect the TV to Wi-Fi and verify the exit IP with the checks below.
Router setup has two trade-offs worth knowing. First, most app features, including the kill switch, are unavailable at router level, so a dropped tunnel can leave traffic unprotected unless your router has its own kill switch. Second, every device shares one exit location, so changing country for the TV also changes it for your phone and laptop.
If your router cannot run a VPN client, a cheaper alternative is to share a VPN connection from a Windows laptop over Wi-Fi, or to cast from a phone that is already connected. These workarounds are less reliable than a router, but they cost nothing and need no new hardware.
Before you buy a new router for this, check that it supports the protocol your provider uses, because some routers only support older protocols and cannot run WireGuard. A router that only supports PPTP is not worth buying, since that protocol has known security weaknesses and most providers no longer support it.
Android TV VPN Permissions Explained
Android asks every VPN app for permission to set up a VPN connection and monitor network traffic, and the app cannot function until you approve it. This is a standard Android requirement, not a quirk of one provider, and ExpressVPN’s own setup guide says so directly. The prompt appears once, the first time you connect, and you approve it with the remote.
The permission is broad by design, because a VPN must see your traffic to encrypt it. That is why you should only grant it to an app from a provider you trust, installed from the Play Store or the provider’s own download page. Never approve a connection request from an app you do not recognise, and never install a VPN from an unknown APK site.
Android also offers an always-on VPN option in the system VPN settings, which keeps the VPN connected at all times. Google notes that if you set up the VPN through an app, you will not see the always-on option in the same place, so use the auto-connect setting inside the VPN app itself instead. That is the reliable way to keep the TV protected after a restart.
Some TVs add their own permission screens for installing from unknown sources, for running apps in the background, or for network access. If a VPN app disconnects after the TV sleeps, check that the app is allowed to run in the background, because battery and power-saving settings can stop it.
If you ever see a second connection request after approving the first, stop and check which app is asking. A legitimate app asks once, while a prompt from an unfamiliar app name can mean a second VPN app is installed on the TV. Uninstall any VPN app you did not install yourself before you approve anything else.
Android TV VPN Connection Setup: Choosing a Server and Protocol
After sign-in, the app usually offers a Quick Connect or Fastest Location button that picks the best server for you. For most readers in Pakistan, the nearest server gives the fastest connection, because your traffic travels the shortest distance. Use Quick Connect first, and only pick a country manually when a service needs that location.
If you need a specific country, open the server list, choose the country, and then a city or server if the app offers one. A busy server can be slow at peak hours, so switch to another server in the same country before you blame the VPN. Providers with many servers in one country give you more options here.
For the protocol, leave the app on Automatic unless you have a reason to change it. WireGuard is the usual pick for streaming on Android TV, because it connects fast and recovers well from Wi-Fi drops, while OpenVPN is the fallback on networks that block newer protocols. IKEv2 is a solid middle option on older TVs.
Bypasser, or split tunnelling, lets chosen apps skip the VPN, which is useful when a local banking app or a Pakistani streaming service refuses VPN traffic. Set it up in the VPN app’s settings, and test the bypassed app afterwards, because a wrong entry can leave an app unprotected or still blocked.
Auto-connect deserves a moment of its own, because it is the setting that keeps the TV protected between sessions. Turn it on in the VPN app, choose your preferred location, and then restart the TV and check that the app connected by itself. If it did not, the app may be blocked from running in the background, and the permissions section above explains the fix.
How Do I Verify the Connection on Android TV?
Verification matters, because a green Connected label is not proof that your traffic is actually routed. A misconfigured profile, a failed handshake or a DNS leak can leave the app showing connected while your real IP is still visible. The checks below take five minutes and confirm the connection from your own TV.
- Disconnect the VPN and note your real IP address and location from an IP checker.
- Connect to a server in the VPN app and wait for the connection to settle.
- Open an IP checker in the TV browser and confirm it shows the VPN country.
- Run a DNS leak test and confirm no Pakistani DNS server appears.
- Open the streaming service or website you need and confirm it loads for that location.
- Repeat the checks on each TV you plan to use the VPN on.
The simplest check is an IP checker website opened in the TV’s browser. Note your real IP and location before you connect, then check again after connecting and confirm both have changed to the VPN server’s country. If the IP still shows Pakistan, disconnect, pick a different server and try again.
Then run a DNS leak test from the same browser and confirm no Pakistani DNS server appears. A DNS leak means your DNS requests go to your internet provider instead of through the VPN, which can reveal your browsing even when the IP looks right. All major providers include DNS leak protection, but it is still worth checking once.
Finally, test the service you bought the VPN for. If you need a streaming library from another country, open that app while connected and confirm it loads the right catalogue. A generic IP check is not enough, because some services block VPN servers even when the IP address is correct.
Repeat the checks after a TV restart, because auto-connect can fail silently after an update or a power cut. If the IP check shows your real location after a restart, open the VPN app, confirm it connected, and check its auto-connect setting before you stream.
If the checks fail on every server from one provider, the problem is usually the app, the protocol or the network, not the TV. Switch protocol in the app settings, try a different server country, and if nothing works, use the money-back guarantee and try a different provider rather than fighting a broken setup.
How to Disconnect and Remove a VPN Profile on Android TV
To disconnect for one session, open the VPN app and tap Disconnect, or use the TV’s quick settings if your model shows a VPN tile. The connection ends at once, and your traffic returns to your normal connection. Remember that a kill switch can block internet access after a disconnect, so turn it off first if you need the open connection.
To remove a profile created in Android’s built-in VPN settings, open Settings, then Network and Internet, then VPN, tap the settings icon next to the profile and choose Forget. That deletes the saved server address and credentials. To remove an app-based VPN, uninstall the app, which also removes the permission you granted it.
Remove old profiles when you change provider, because a forgotten profile can reconnect by accident or confuse the always-on setting. Check the system VPN screen after uninstalling an app and delete any profile that remains, then restart the TV and confirm the VPN screen is empty.
If you sell or give away the TV, sign out of the VPN app and uninstall it first, then remove any saved profiles from the system VPN screen. That stops the next owner from using your subscription or reconnecting to a profile that still holds your login details.
Limitations: What Android TV VPNs Cannot Do
A VPN on Android TV protects the TV’s own traffic, not the traffic of other devices on your network. Connecting your phone to a VPN does not protect the TV, and a VPN on the TV does nothing for your laptop. Each device needs its own app, or the whole network needs a router setup.
A VPN also cannot guarantee access to every streaming service. Platforms detect and block VPN servers, and a server that works today can be blocked tomorrow. No VPN can promise that a specific catalogue will always load, so test the service you care about inside the money-back guarantee window.
Speed will drop compared with your normal connection, because traffic travels from Pakistan to the VPN server and back. The size of the drop depends on your internet plan, the time of day and how busy the server is, so test the connection yourself rather than trusting a speed claim in any guide, including this one.
Some TV features behave differently behind a VPN. Location-based apps may show the wrong region, voice search can return results for the VPN country, and some smart-home integrations expect the TV on your local network. Use Bypasser or split tunnelling for apps that need your real location, and disconnect the VPN when you do not need it.
Pakistan’s rules on VPN use have changed before, and the PTA has restricted unregistered VPN use at times. Keep your provider’s app updated, follow current PTA guidance, and do not assume that a connection that works today will always be permitted.
Flagged: whether every VPN app’s kill switch works reliably on every Android TV model is unconfirmed. Surfshark documents a kill switch on Android TV and independent guides report it working, but other providers’ TV kill switches are less clearly documented, so test yours by disconnecting the VPN and confirming that traffic stops.
Surfshark — our recommended VPN for Pakistan
If your TV cannot run a VPN app at all, test the router route inside the 30-day money-back guarantee window before you commit to new hardware.
Our Verdict: The Best Way to Set Up a VPN on Android TV
For most readers in Pakistan, the native app route with Surfshark is the best way to set up a VPN on Android TV: a Play Store install, a remote-friendly app, unlimited devices, a working kill switch and auto-connect. It takes a few minutes, needs no technical knowledge, and covers every TV in the house on one subscription.
Choose NordVPN or ExpressVPN if you already use one of them on other devices, since the TV app is included in the same subscription and the setup is the same Play Store install. Choose the router route if your TV cannot run a VPN app at all, or if you want every device in the home protected at once.
Whichever method you pick, finish with the verification checks in this guide. A VPN that shows connected but leaks your real IP is worse than no VPN at all, because it gives you false confidence, so confirm the exit IP, run a DNS leak test, and test the service you actually use.
If you found this guide useful, start with the freevpn.pk homepage for more Pakistan-focused VPN guides, including setup tutorials for other devices and plain-language explainers for the protocols behind the connection.
Frequently Asked Questions
Which VPN Setup Methods Does Android TV Support?
Android TV supports four methods: a native VPN app from the Google Play Store, sideloading the APK, Android’s built-in VPN settings or an OpenVPN client app, and router configuration. The app route is simplest and works for Surfshark, NordVPN and ExpressVPN. Sideloading suits TVs without the store, the built-in settings suit providers that supply details, and router setup covers TVs that cannot run a VPN app.
Which App or OS Version Requirements Matter?
Surfshark’s Play Store app needs Android 7.0 or newer, with an APK for Android 6.0 TVs, and no Ethernet support on Android 9 and 12. ExpressVPN lists Android 5.0 or newer, though its setup tutorial covers Android 7.0 and above. Proton VPN’s Android TV app requires Android 8, according to secondary coverage checked in November 2026. Check the version in Settings, then Device Preferences, then About.
How Do I Verify the Connection on Android TV?
Note your IP and location before you connect, then connect the VPN and open an IP checker in the TV browser to confirm both have changed. Run a DNS leak test and confirm no Pakistani DNS server appears, then open the streaming service you need and confirm it loads for the VPN location. Repeat the checks after a TV restart, because auto-connect can fail silently after an update.